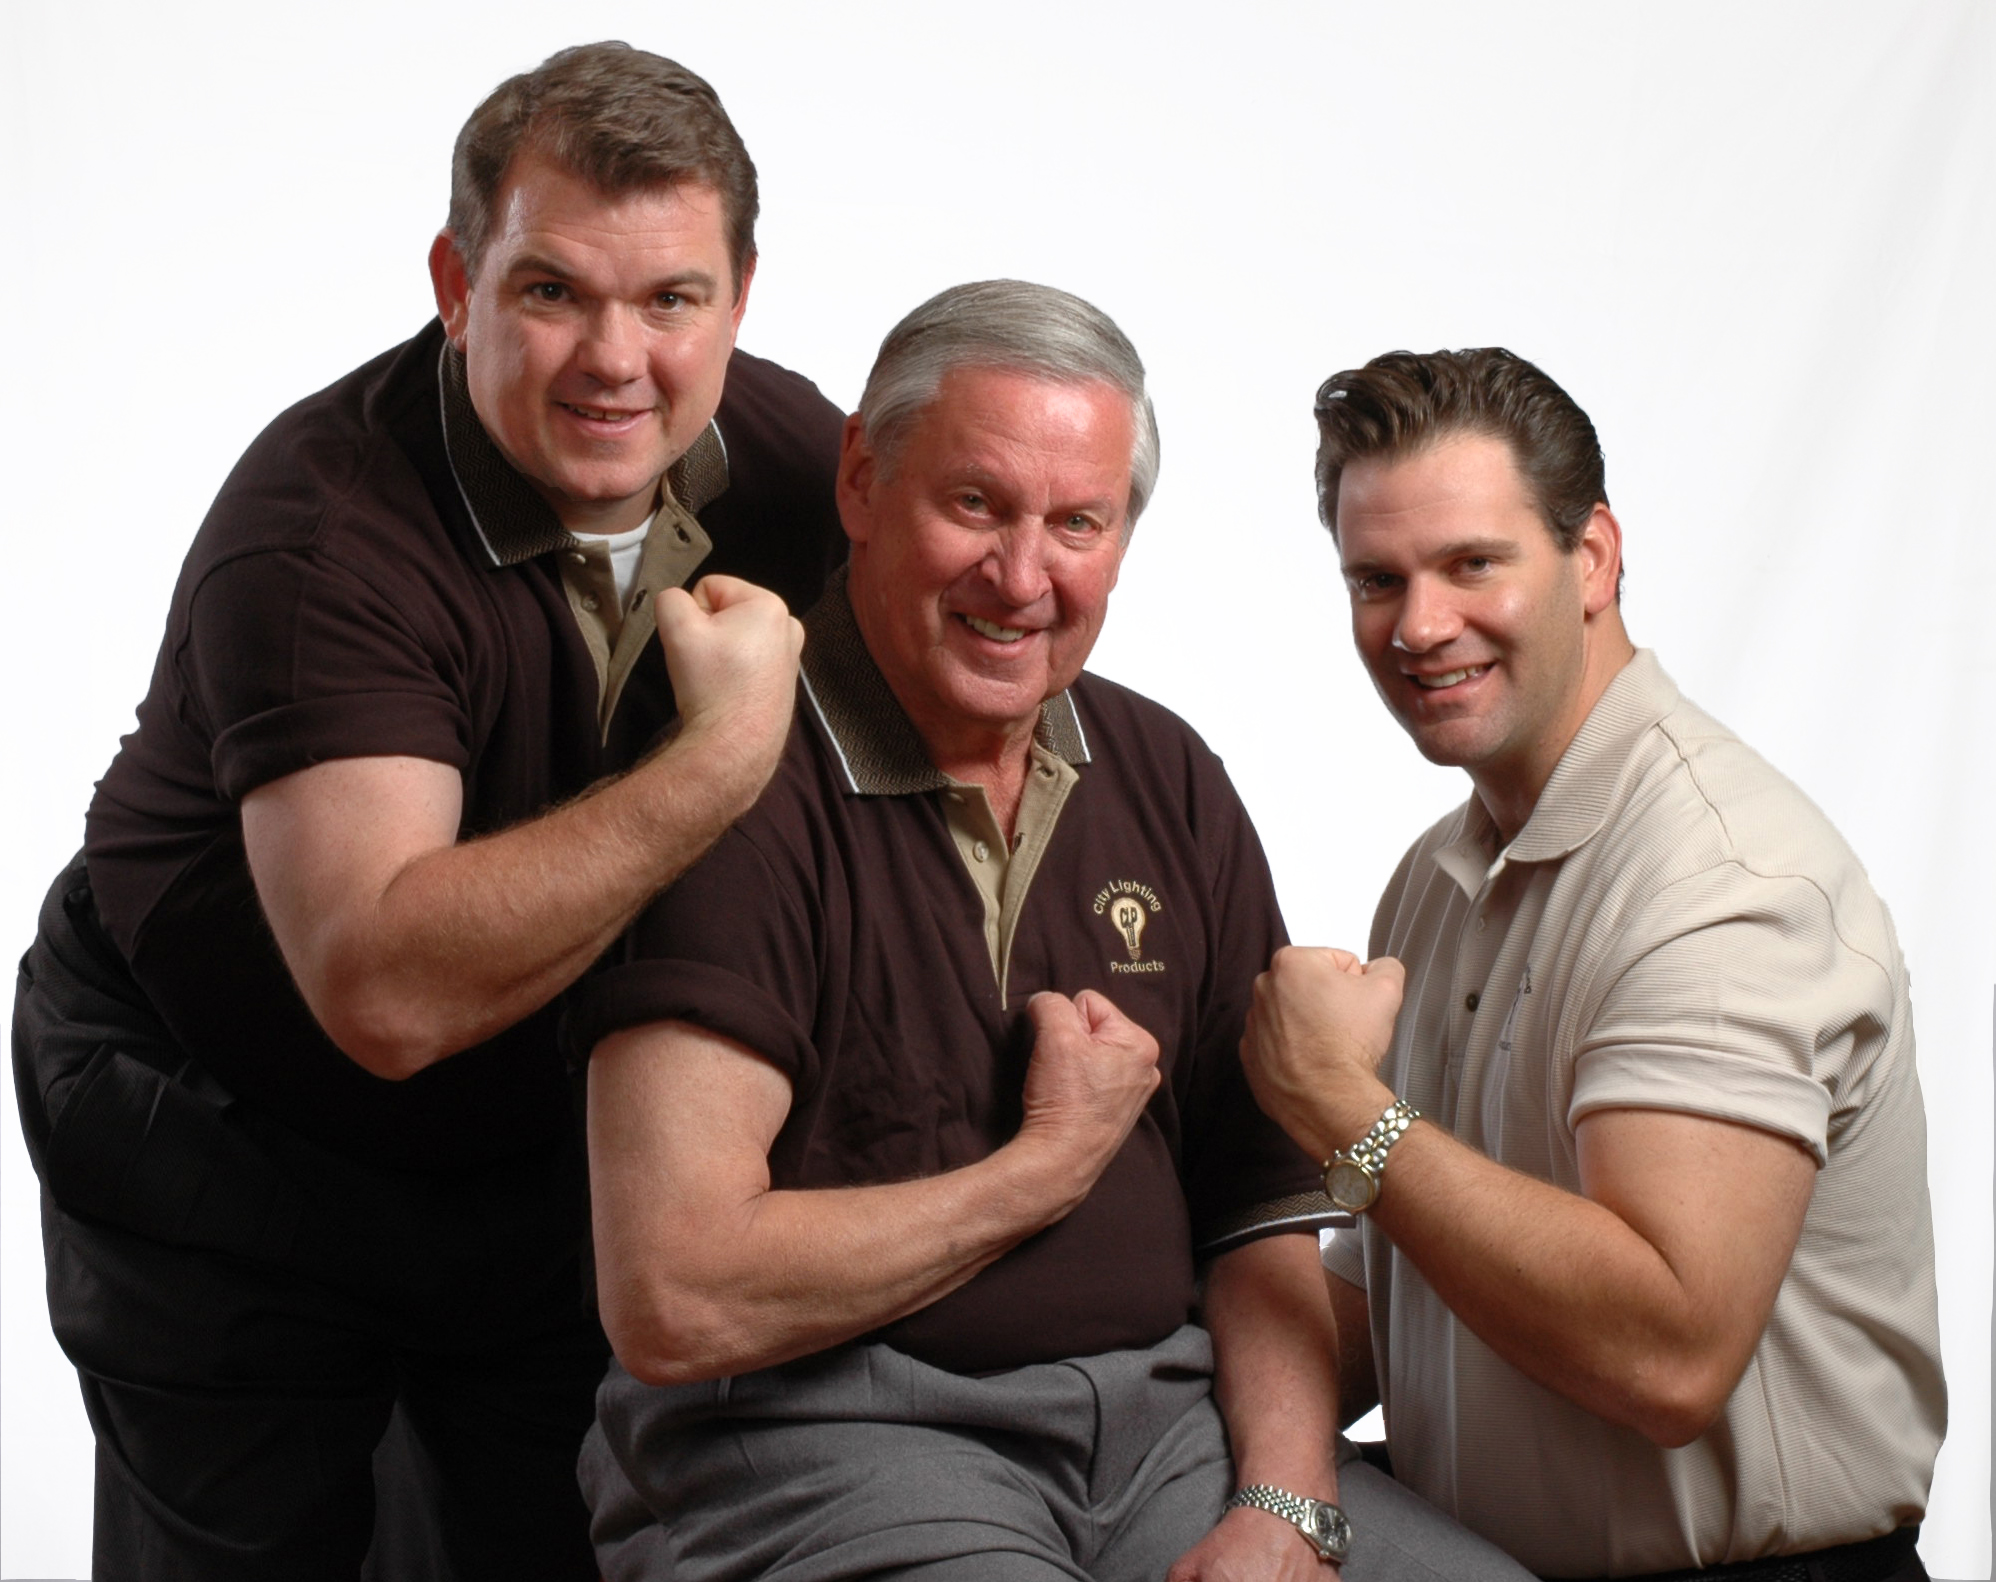
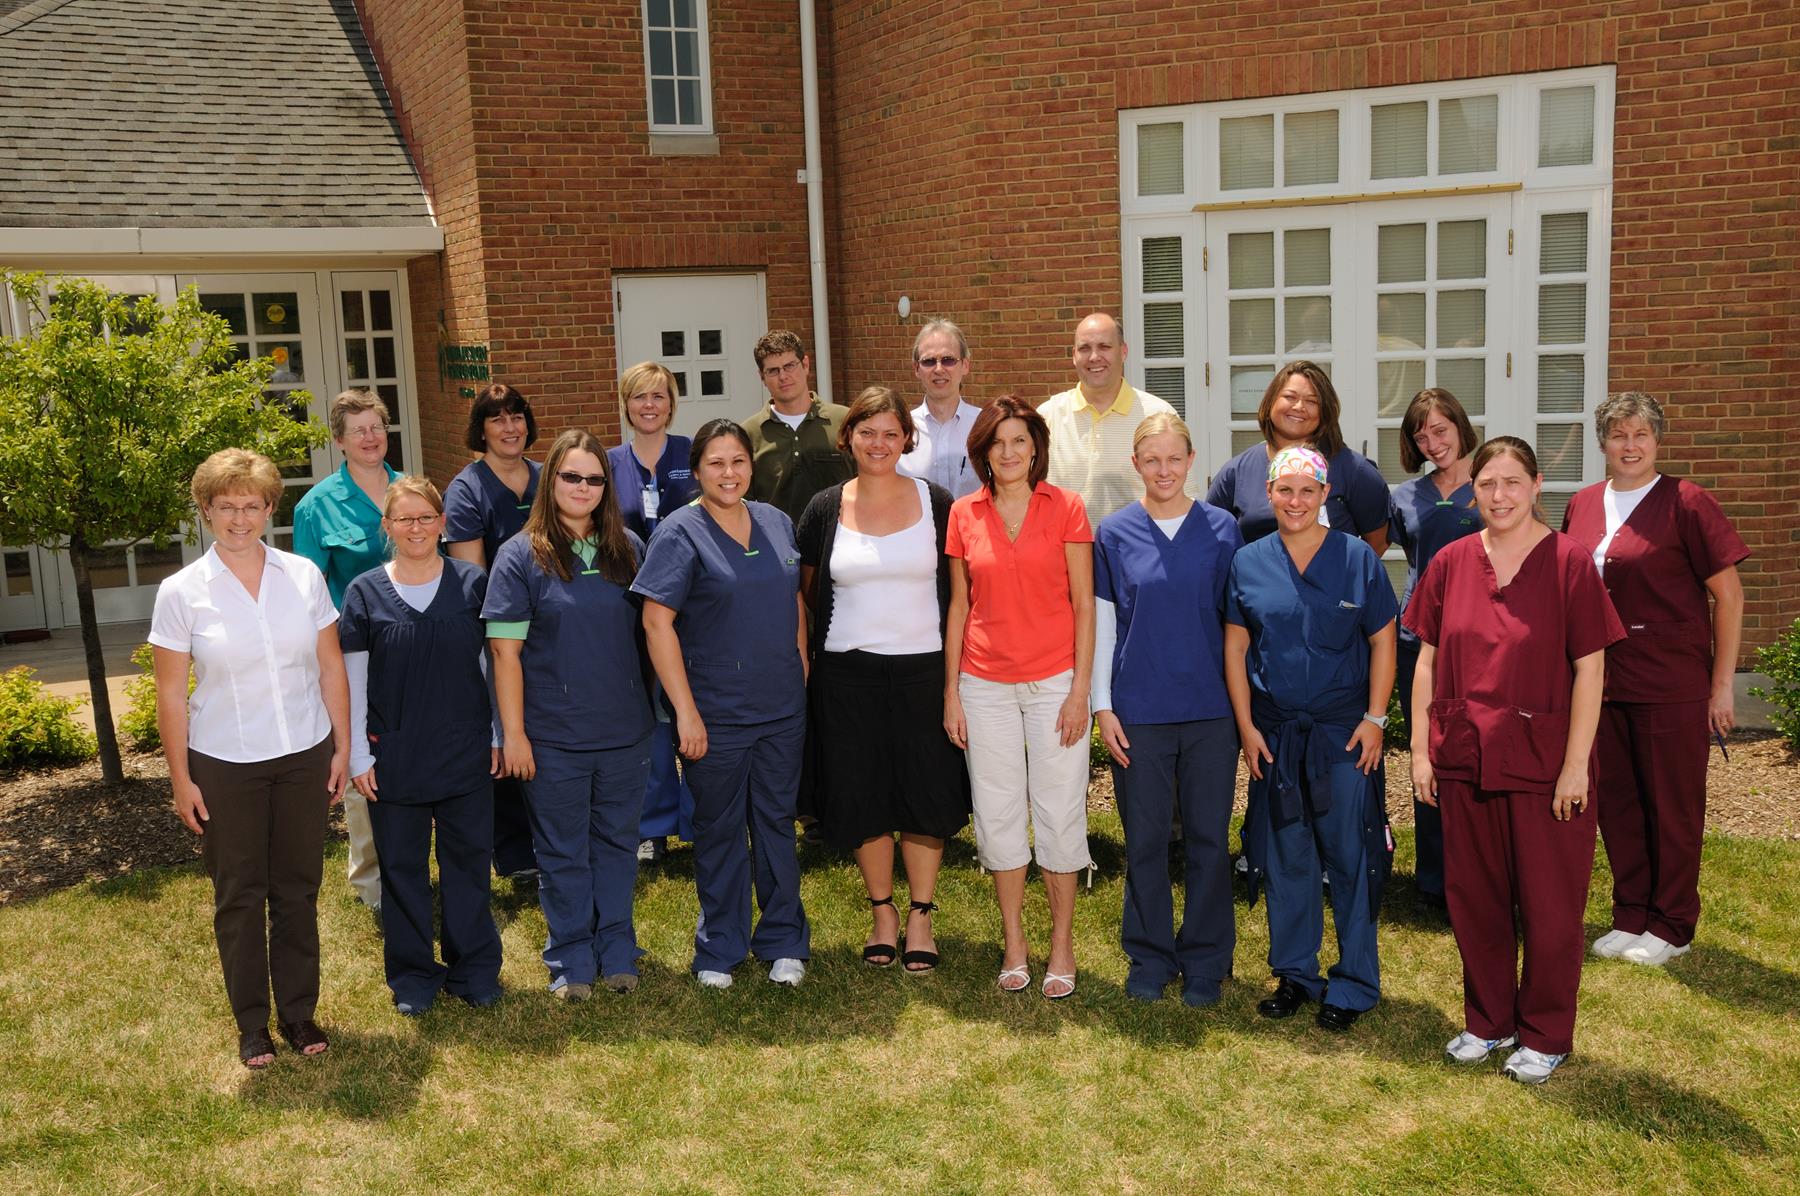
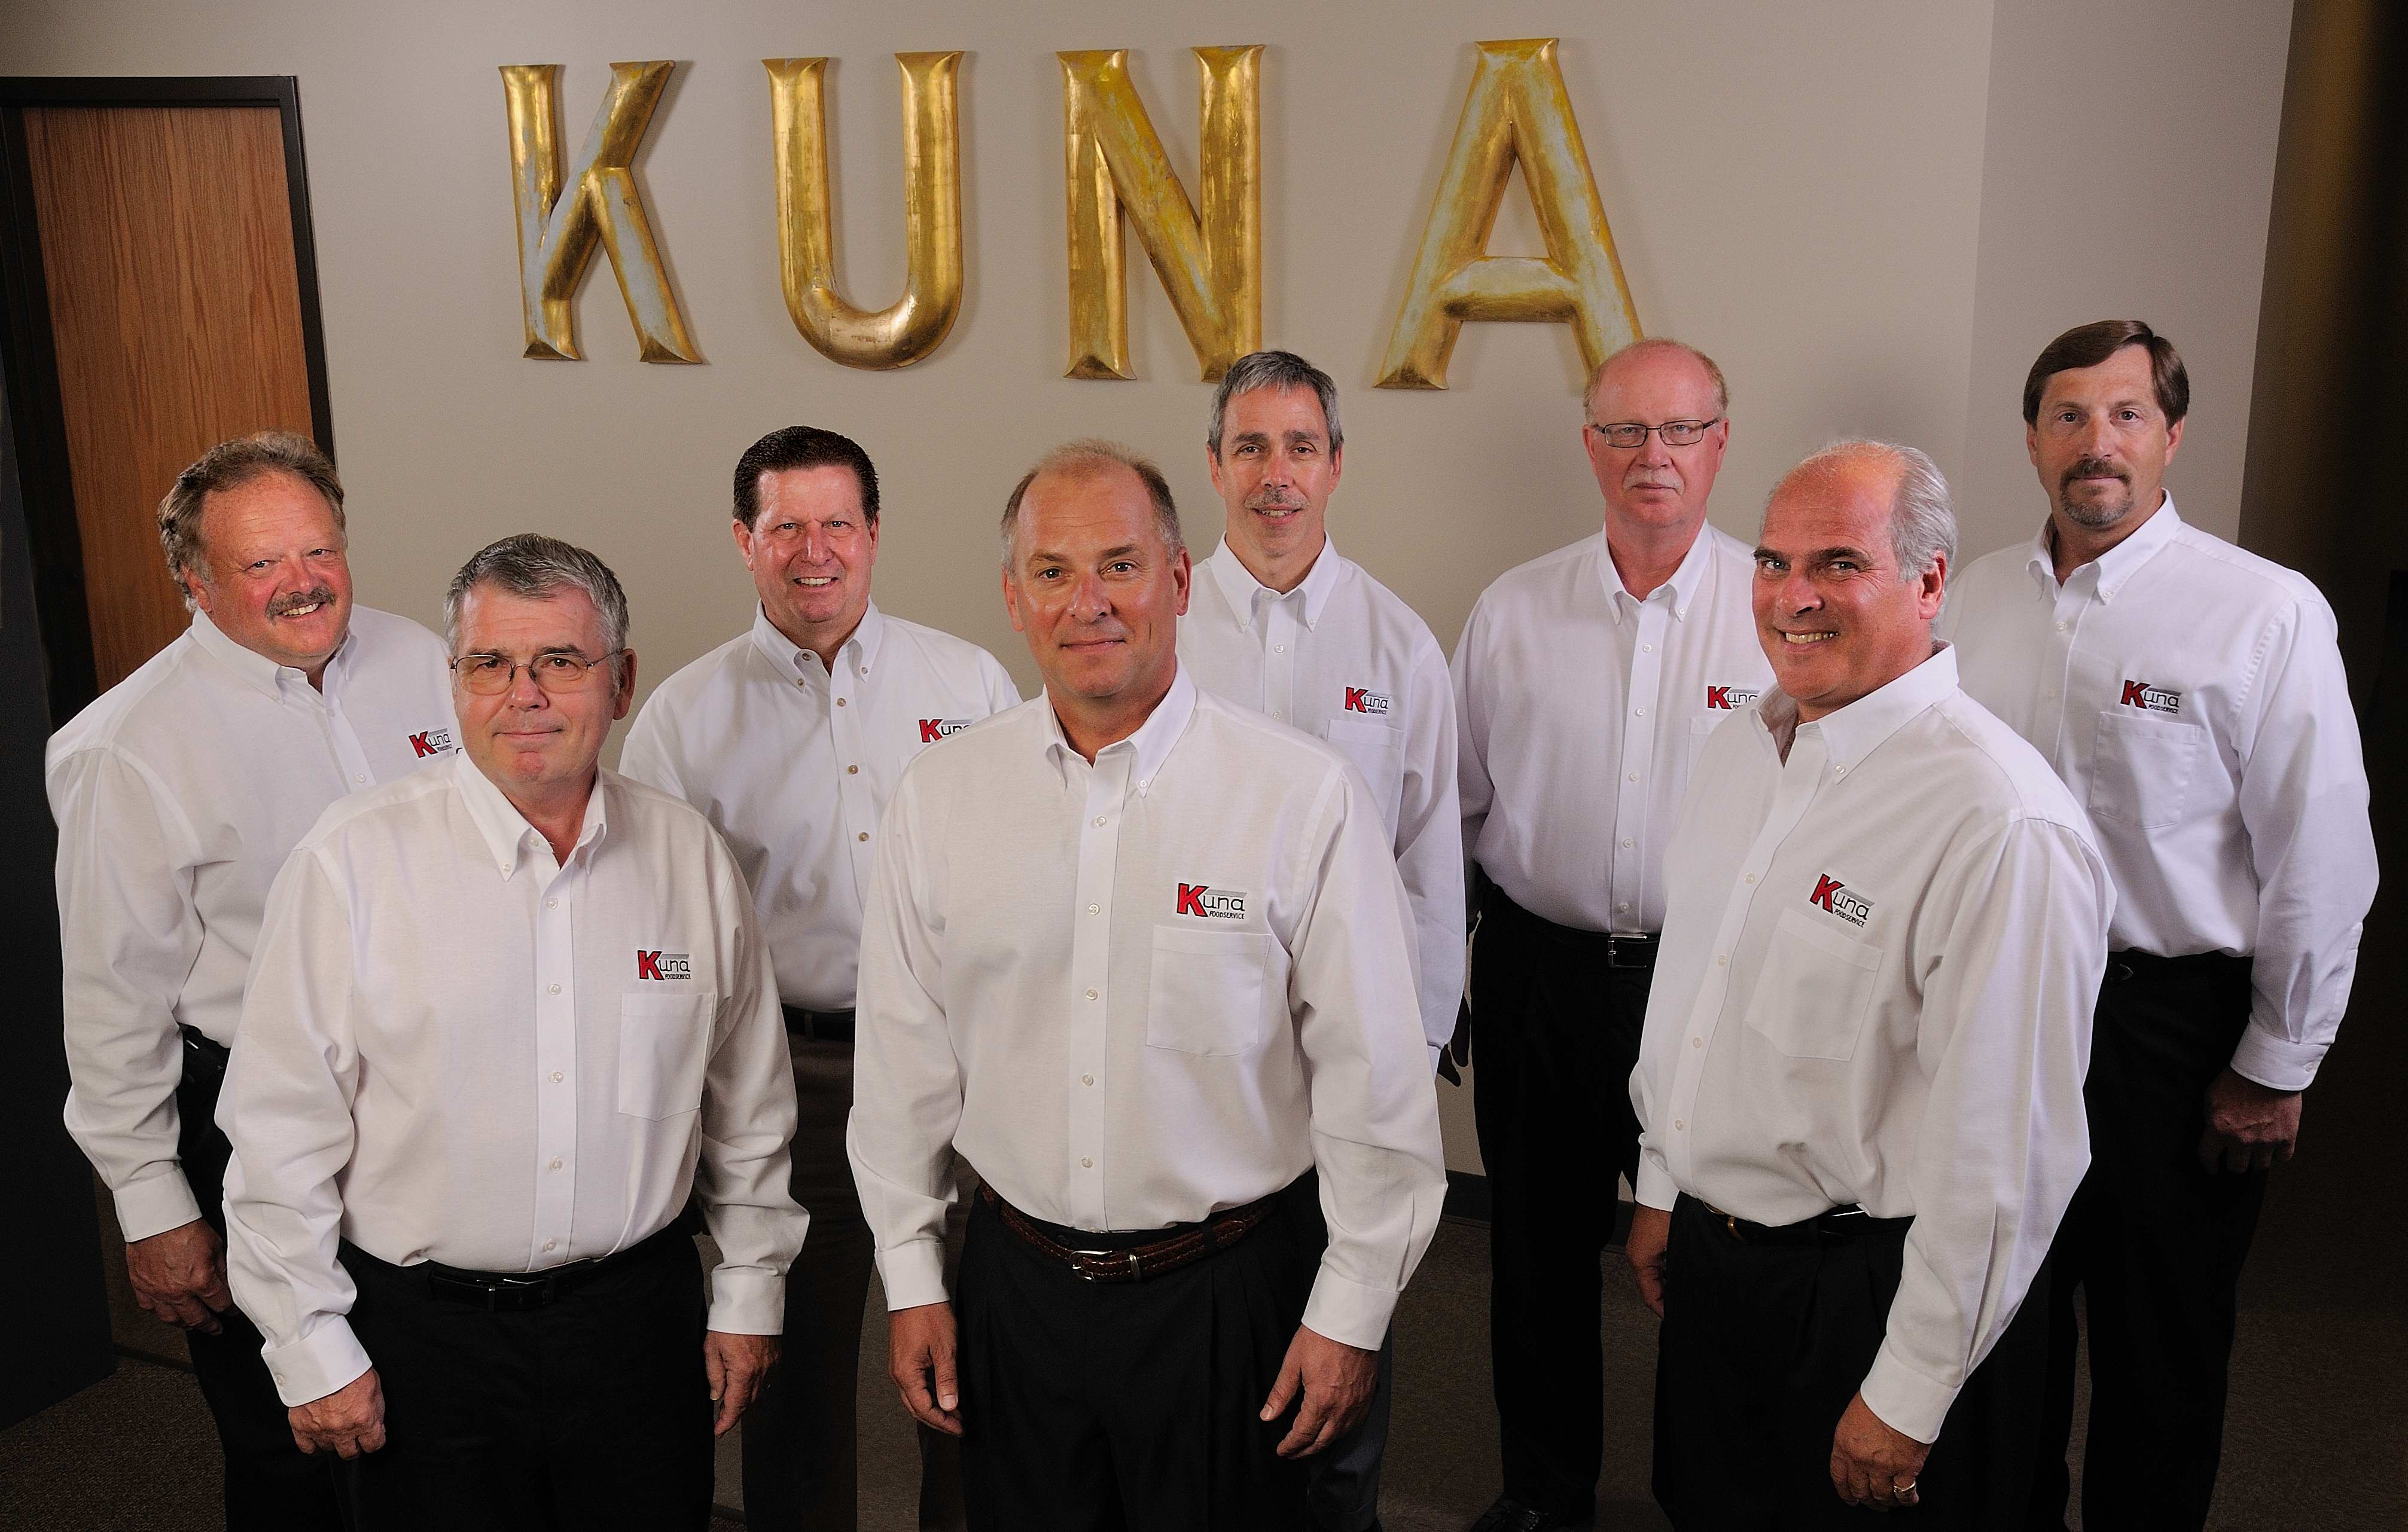
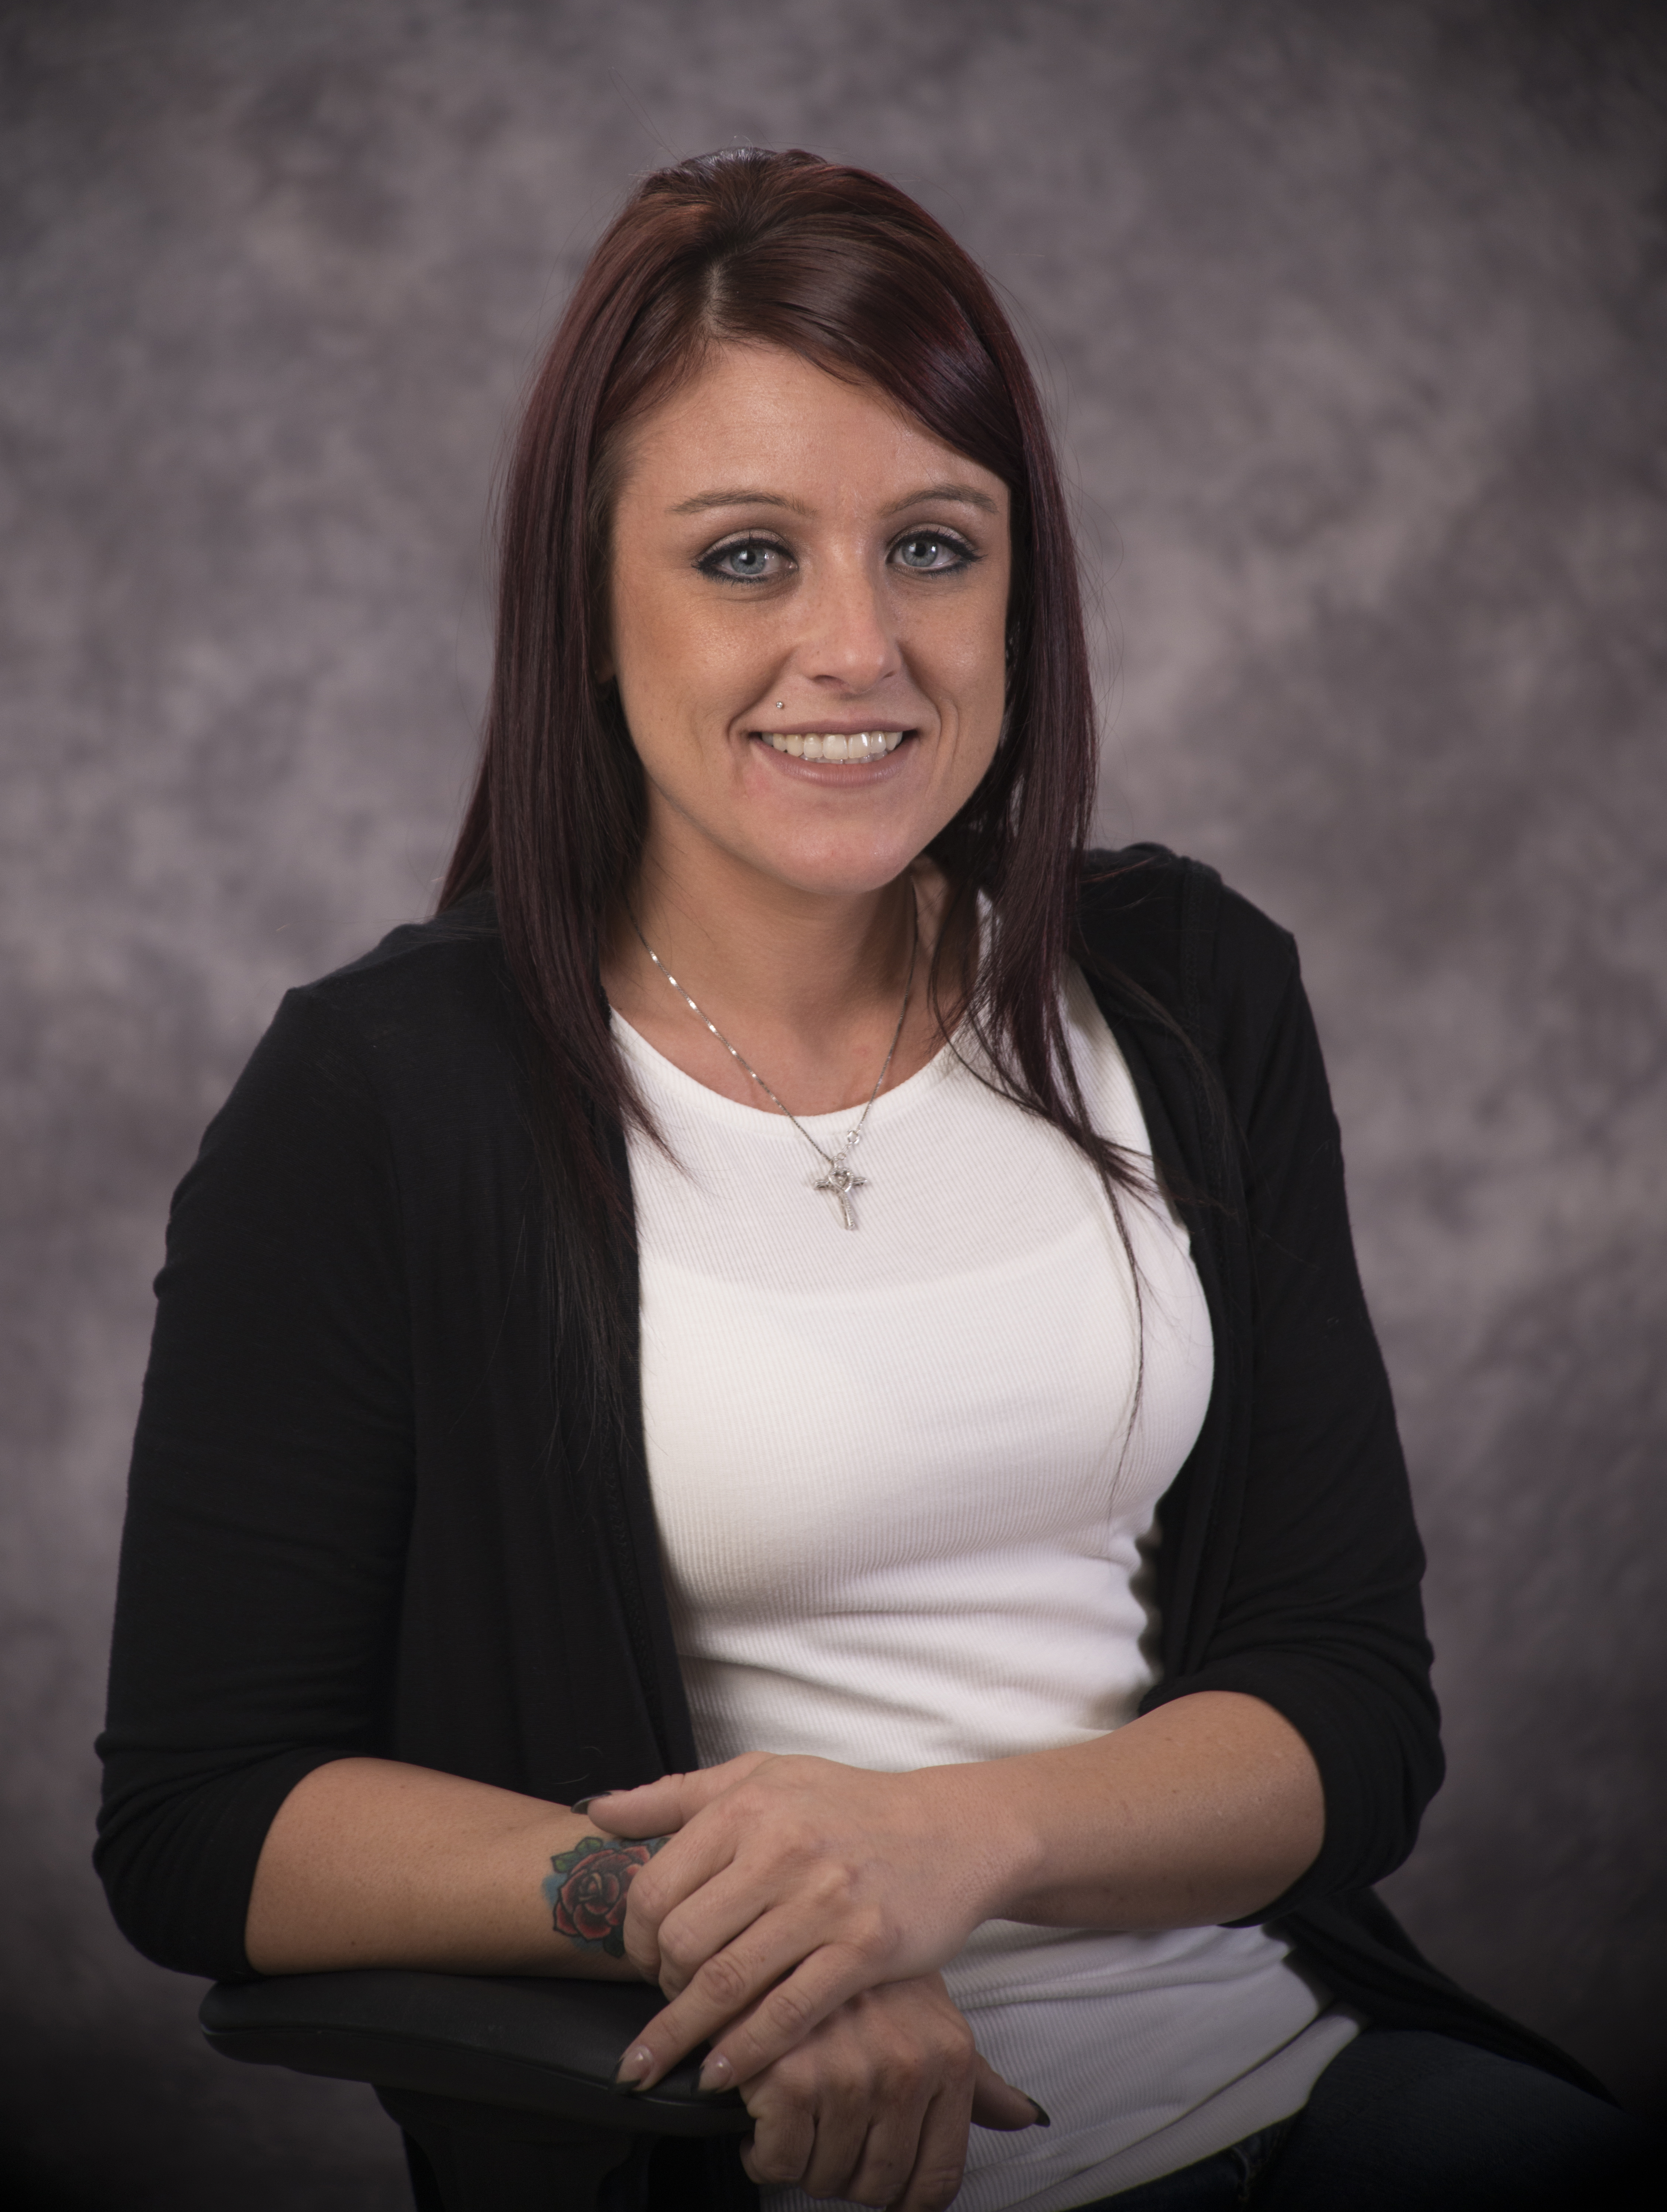
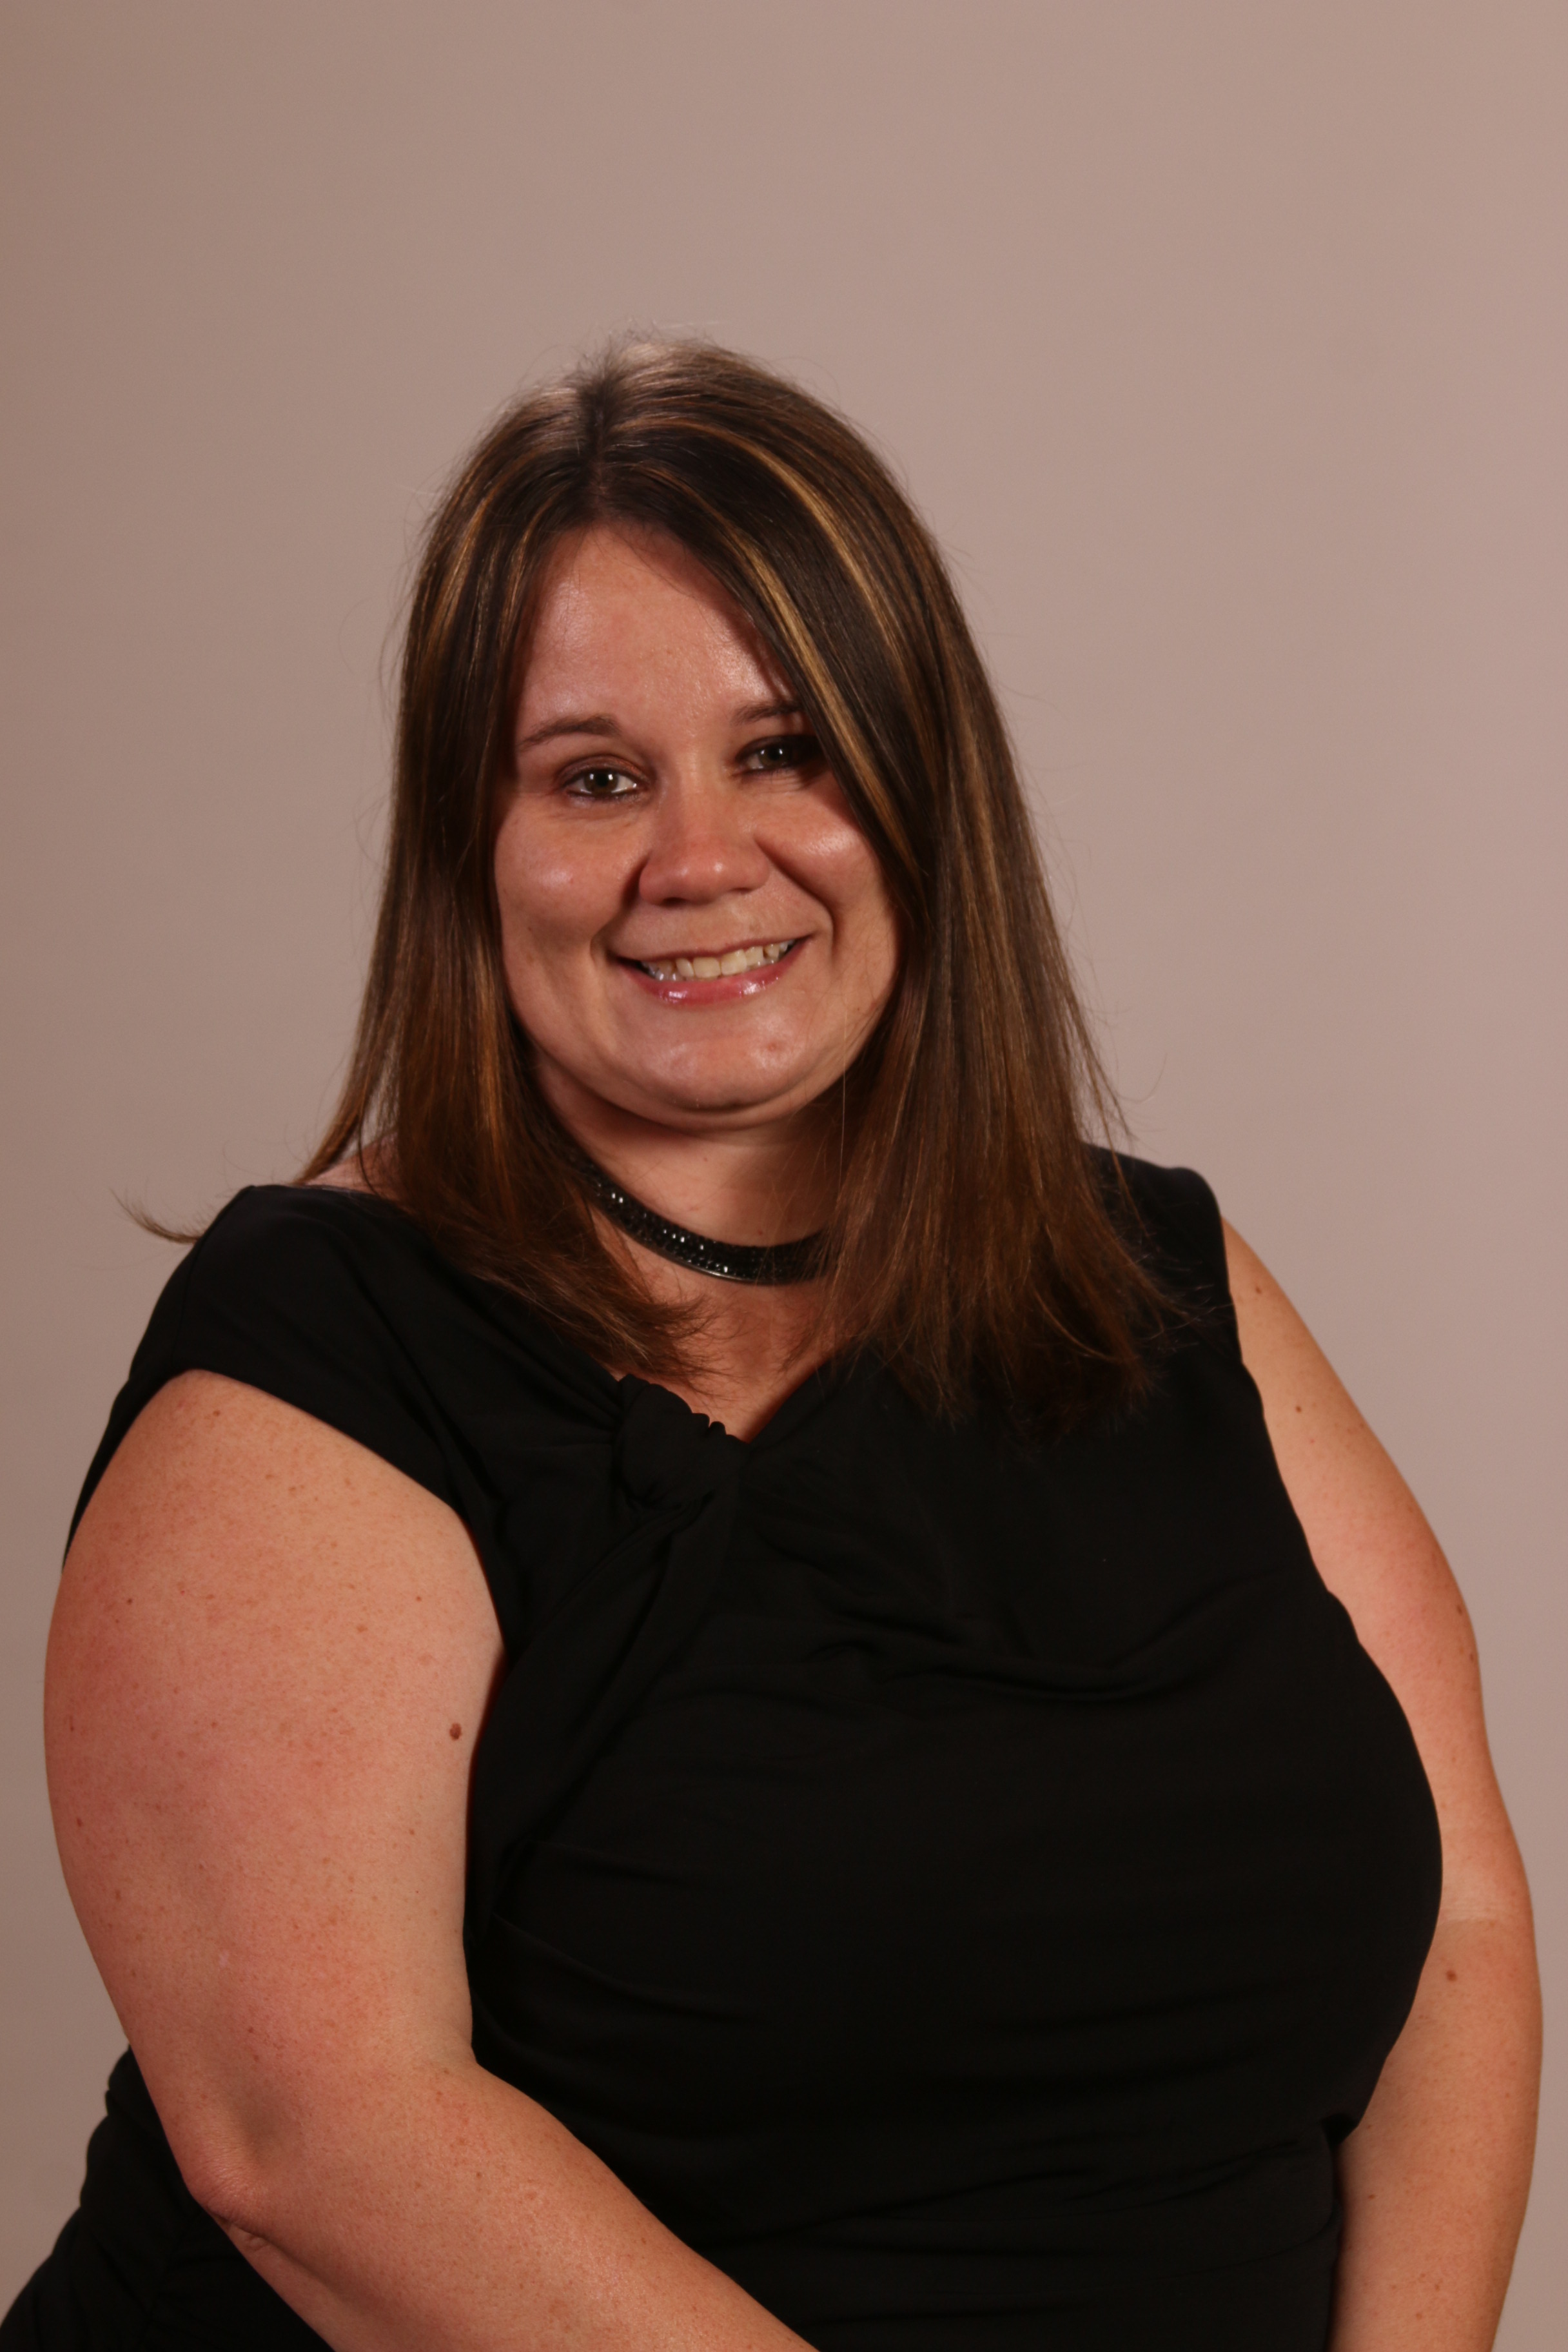
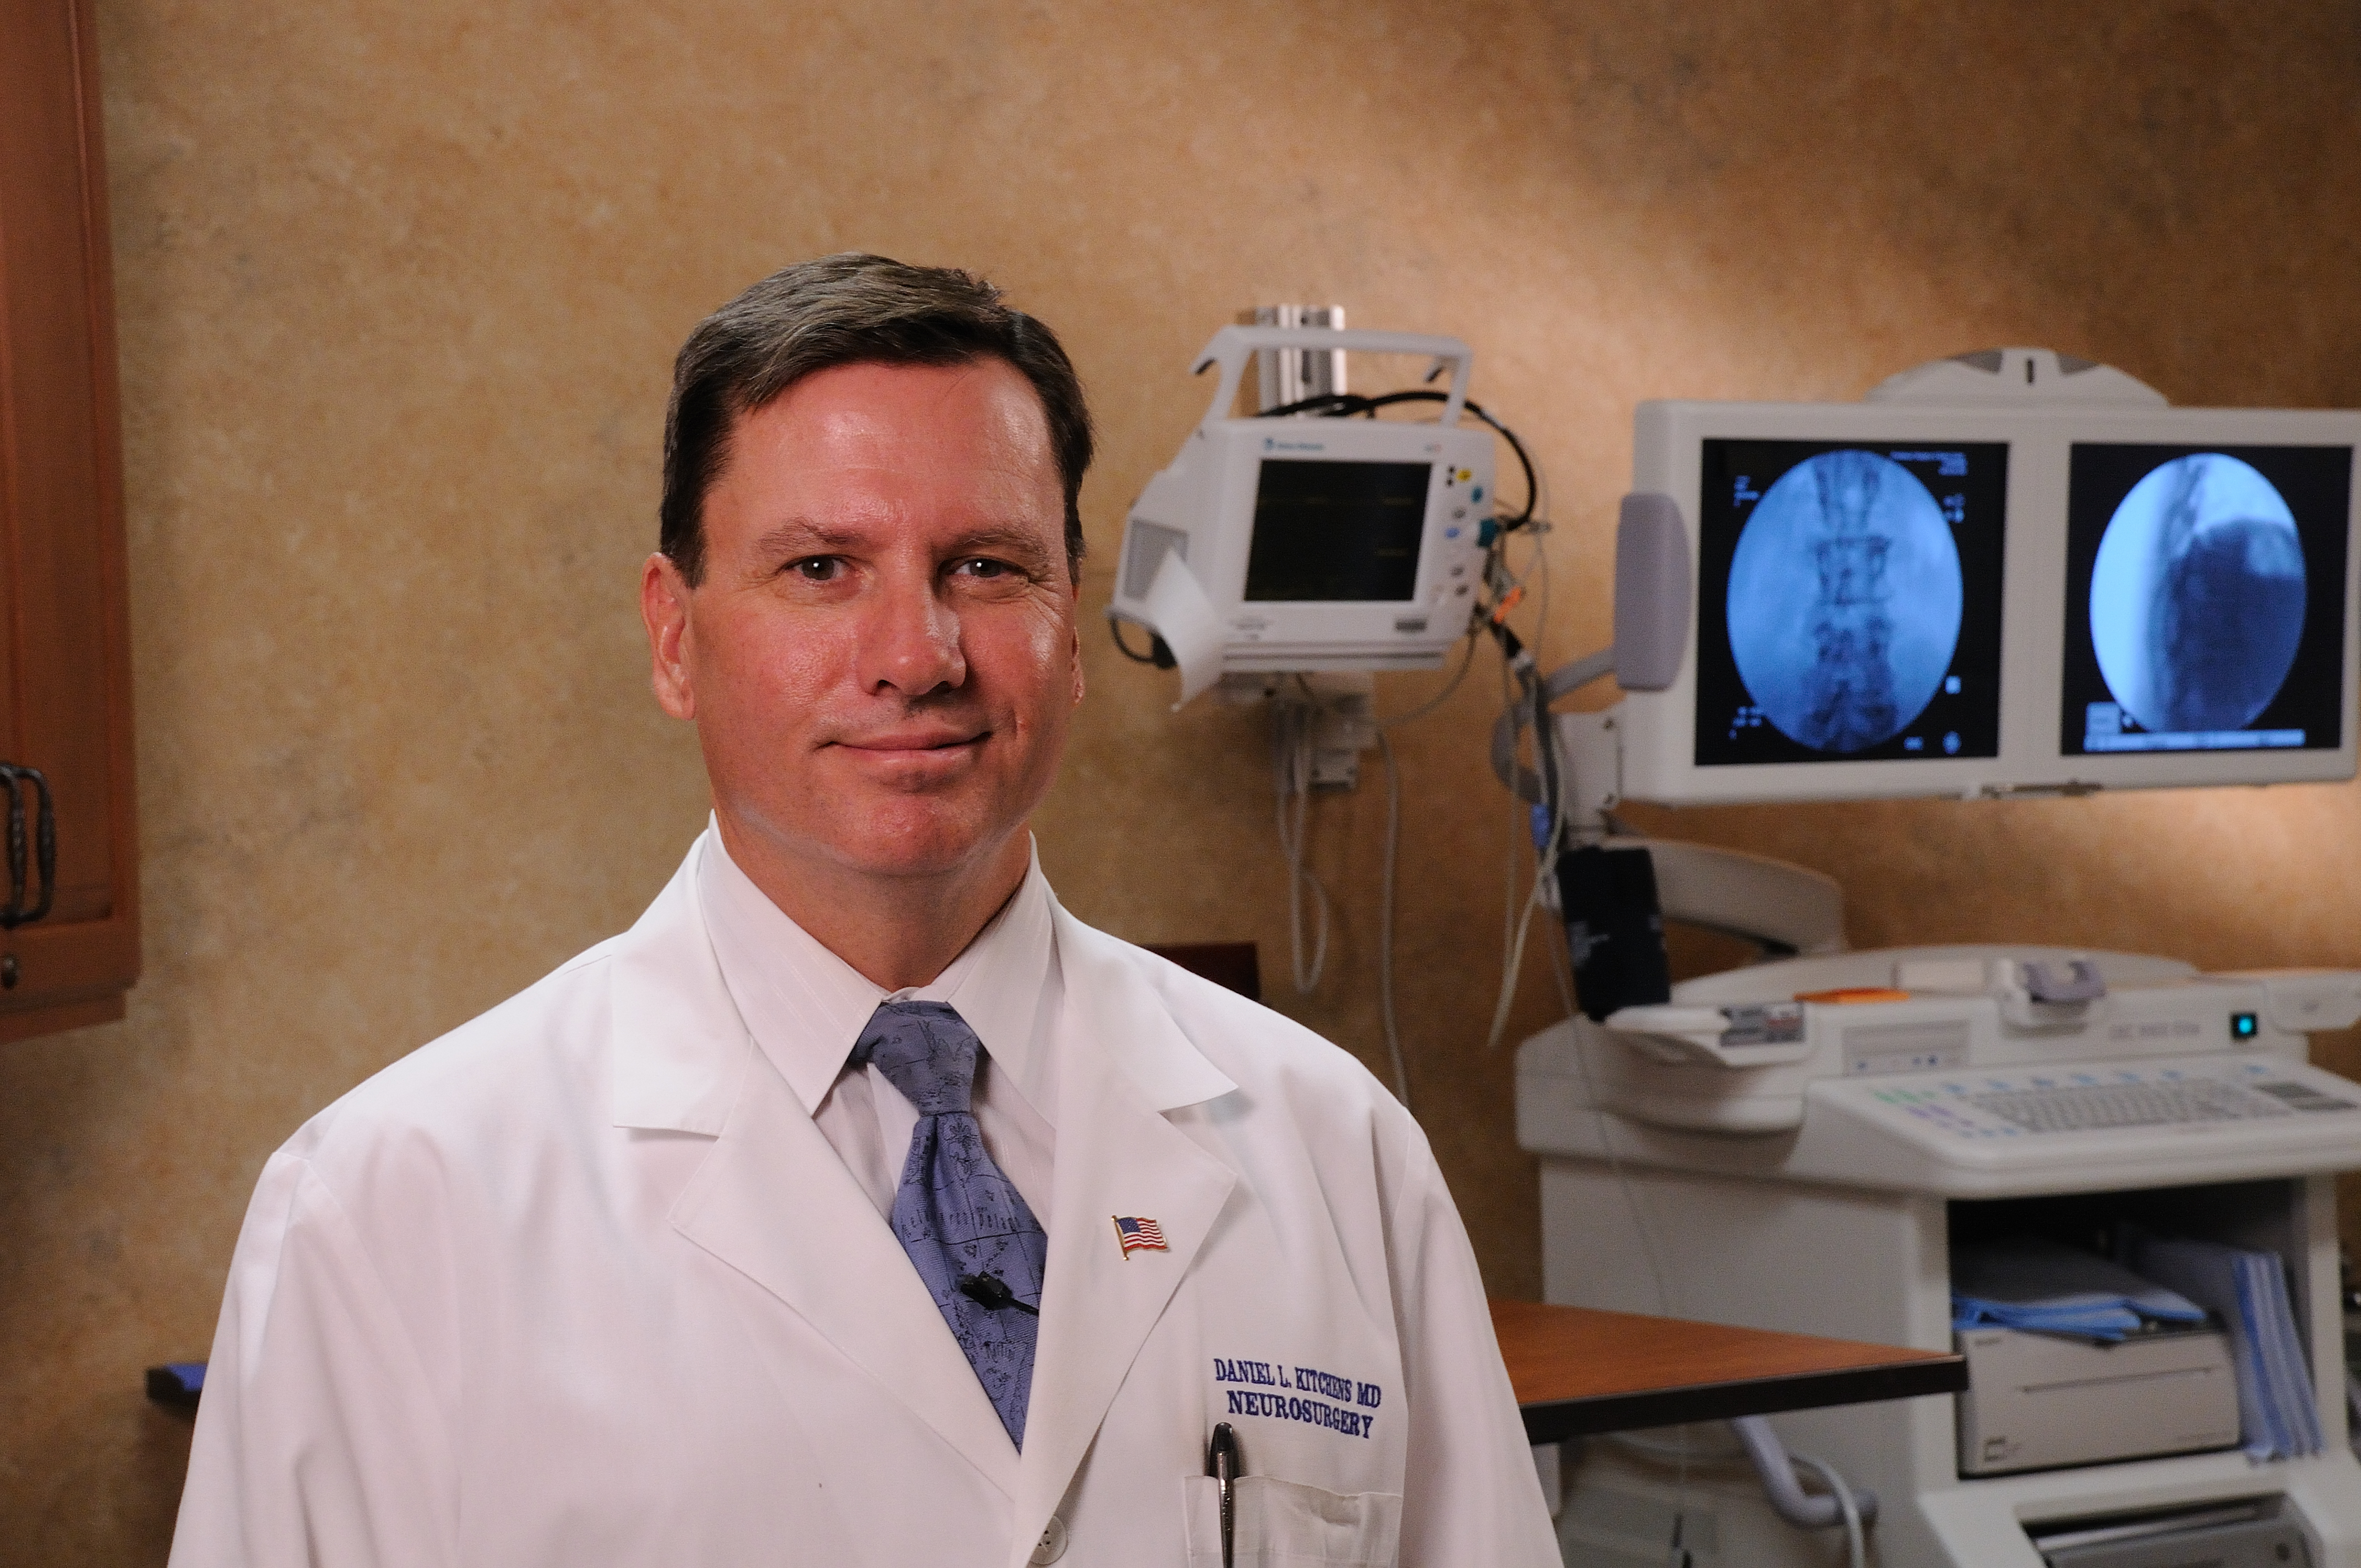
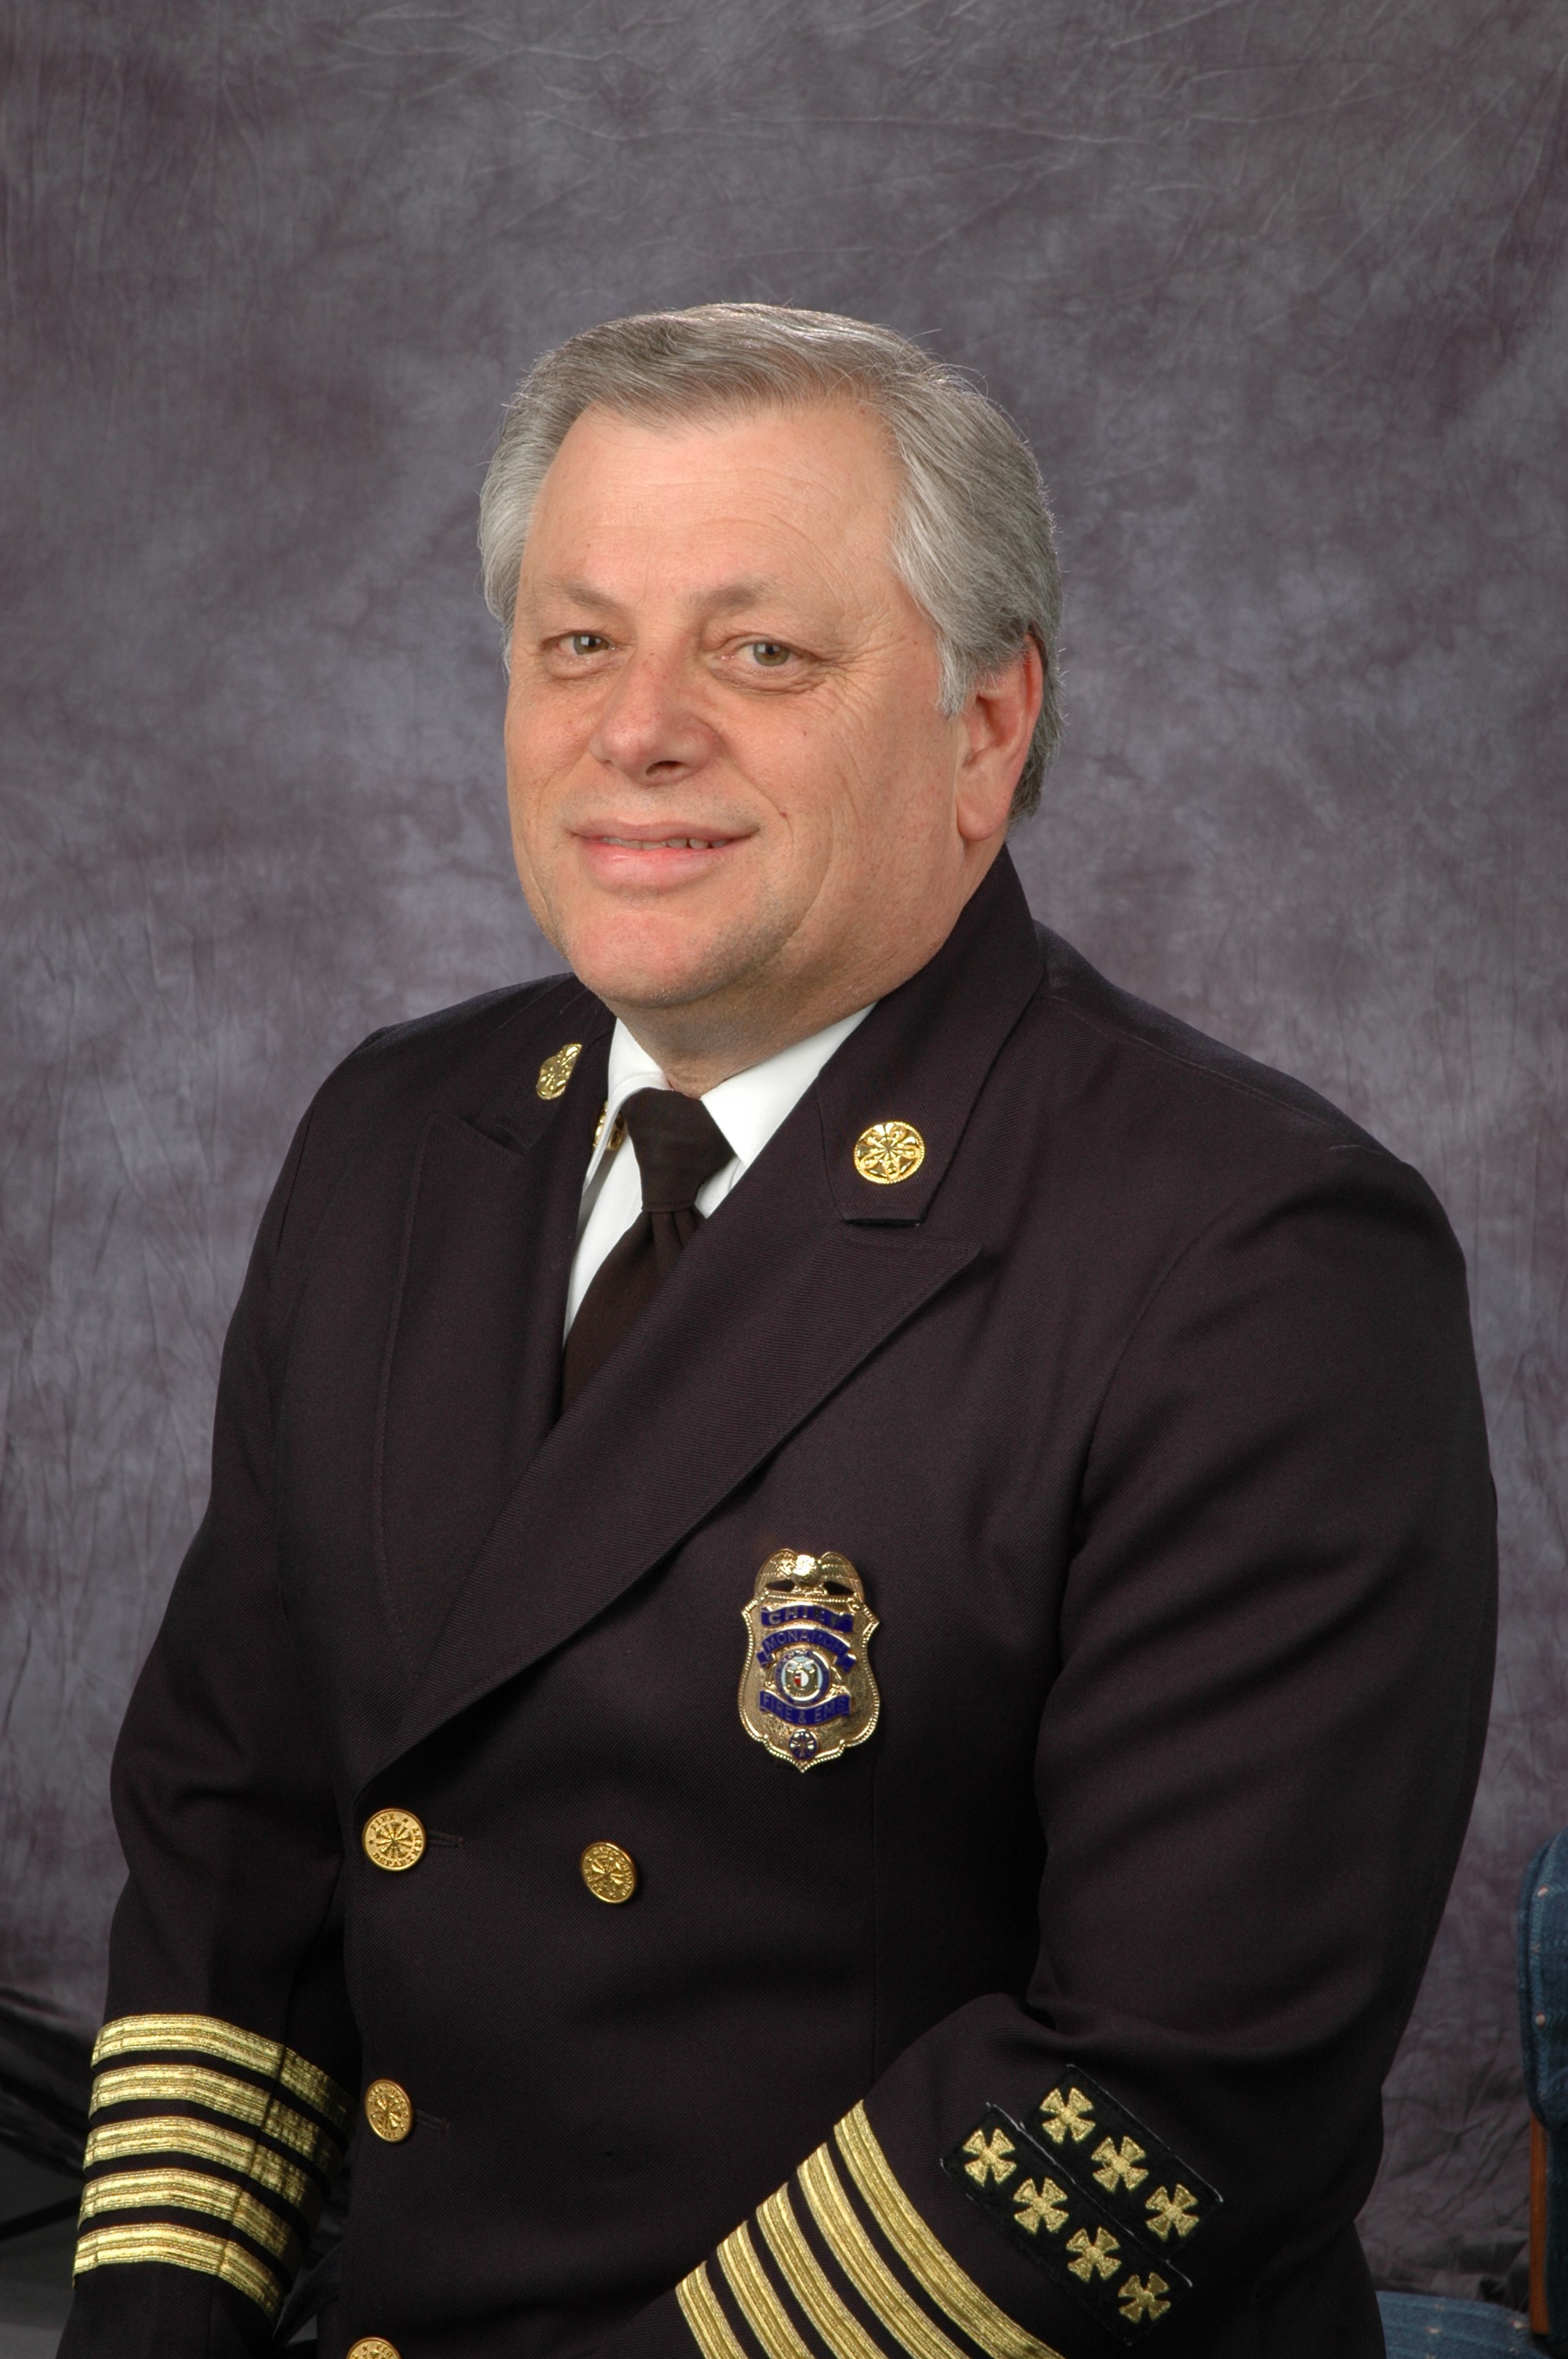
When most organizations think about “brand,” they picture logos, colors, and typography. But one of the most visible — and often least controlled — parts of your brand is the people who represent it. Sales teams, leadership, recruiters, client-facing staff, and even vendors are frequently introduced online through their headshots.
If those headshots look like they’ve been collected from a dozen different photographers, phones, and lighting conditions over several years, your brand looks fragmented — even if everything else is perfectly on point.
A well-thought-out headshot style guide fixes that. It turns individual portraits into a consistent visual system that reinforces who you are as a company every time someone visits your website, LinkedIn page, proposal deck, or internal directory.
Below is a practical roadmap to defining and documenting your company’s headshot style guide — built from the perspective of a crew that lives and breathes corporate photography and video every day.
Why Your Organization Needs a Headshot Style Guide
Before you invest time and budget, it’s important to articulate why this matters to leadership and stakeholders.


1. Consistency across every touchpoint
Whether a client meets your team on your website, LinkedIn, a conference slide, or a pitch deck, their experience should feel unified. Consistent headshots:
- Make your brand feel more professional and intentional
- Reduce visual “noise” so attention goes to the person, not the photography differences
- Support your brand standards as strongly as your logo and color palette
2. Faster onboarding and less friction
When new hires ask, “What photo should I use?” you shouldn’t be reinventing the wheel. A documented style guide:
- Speeds up onboarding
- Reduces back-and-forth with marketing, HR, and IT
- Helps remote hires and satellite offices get it right without guesswork
3. Stronger employer brand and recruiting
Candidates judge you by your online presence. High-quality, consistent headshots send a subtle but powerful signal:
- “We care about our people — and how they show up.”
- “We’re organized and intentional.”
- “You’ll be joining a team of professionals.”


4. Operational efficiency and content reuse
If your headshots are shot and delivered in a consistent way, it becomes far easier to:
- Build templated layouts for proposals and pitch decks
- Repurpose imagery for PR, thought leadership, speaking engagements, and social media
- Integrate photos into video, microsites, internal platforms, and more
Step 1: Define the Strategic Goal of Your Headshots
Before you talk about backgrounds and lighting, you need to answer one simple question:
What do we want people to feel when they see our team?
Some examples:
- Financial services / legal / healthcare
Confident, trustworthy, experienced, calm, detail-oriented. - Tech, startups, creative agencies
Smart, approachable, innovative, energetic, collaborative. - Manufacturing / engineering / construction
Skilled, practical, safety-minded, reliable, grounded.
That emotional target influences every visual choice. A crisp, high-contrast studio look sends a different signal than a softer, environmental background with shallow depth of field. Decide the emotional tone first — the technical details will follow logically.
Step 2: Choose Your Core Visual Parameters
This is where you turn strategy into specific, repeatable decisions. Your style guide should clearly address each of the following:
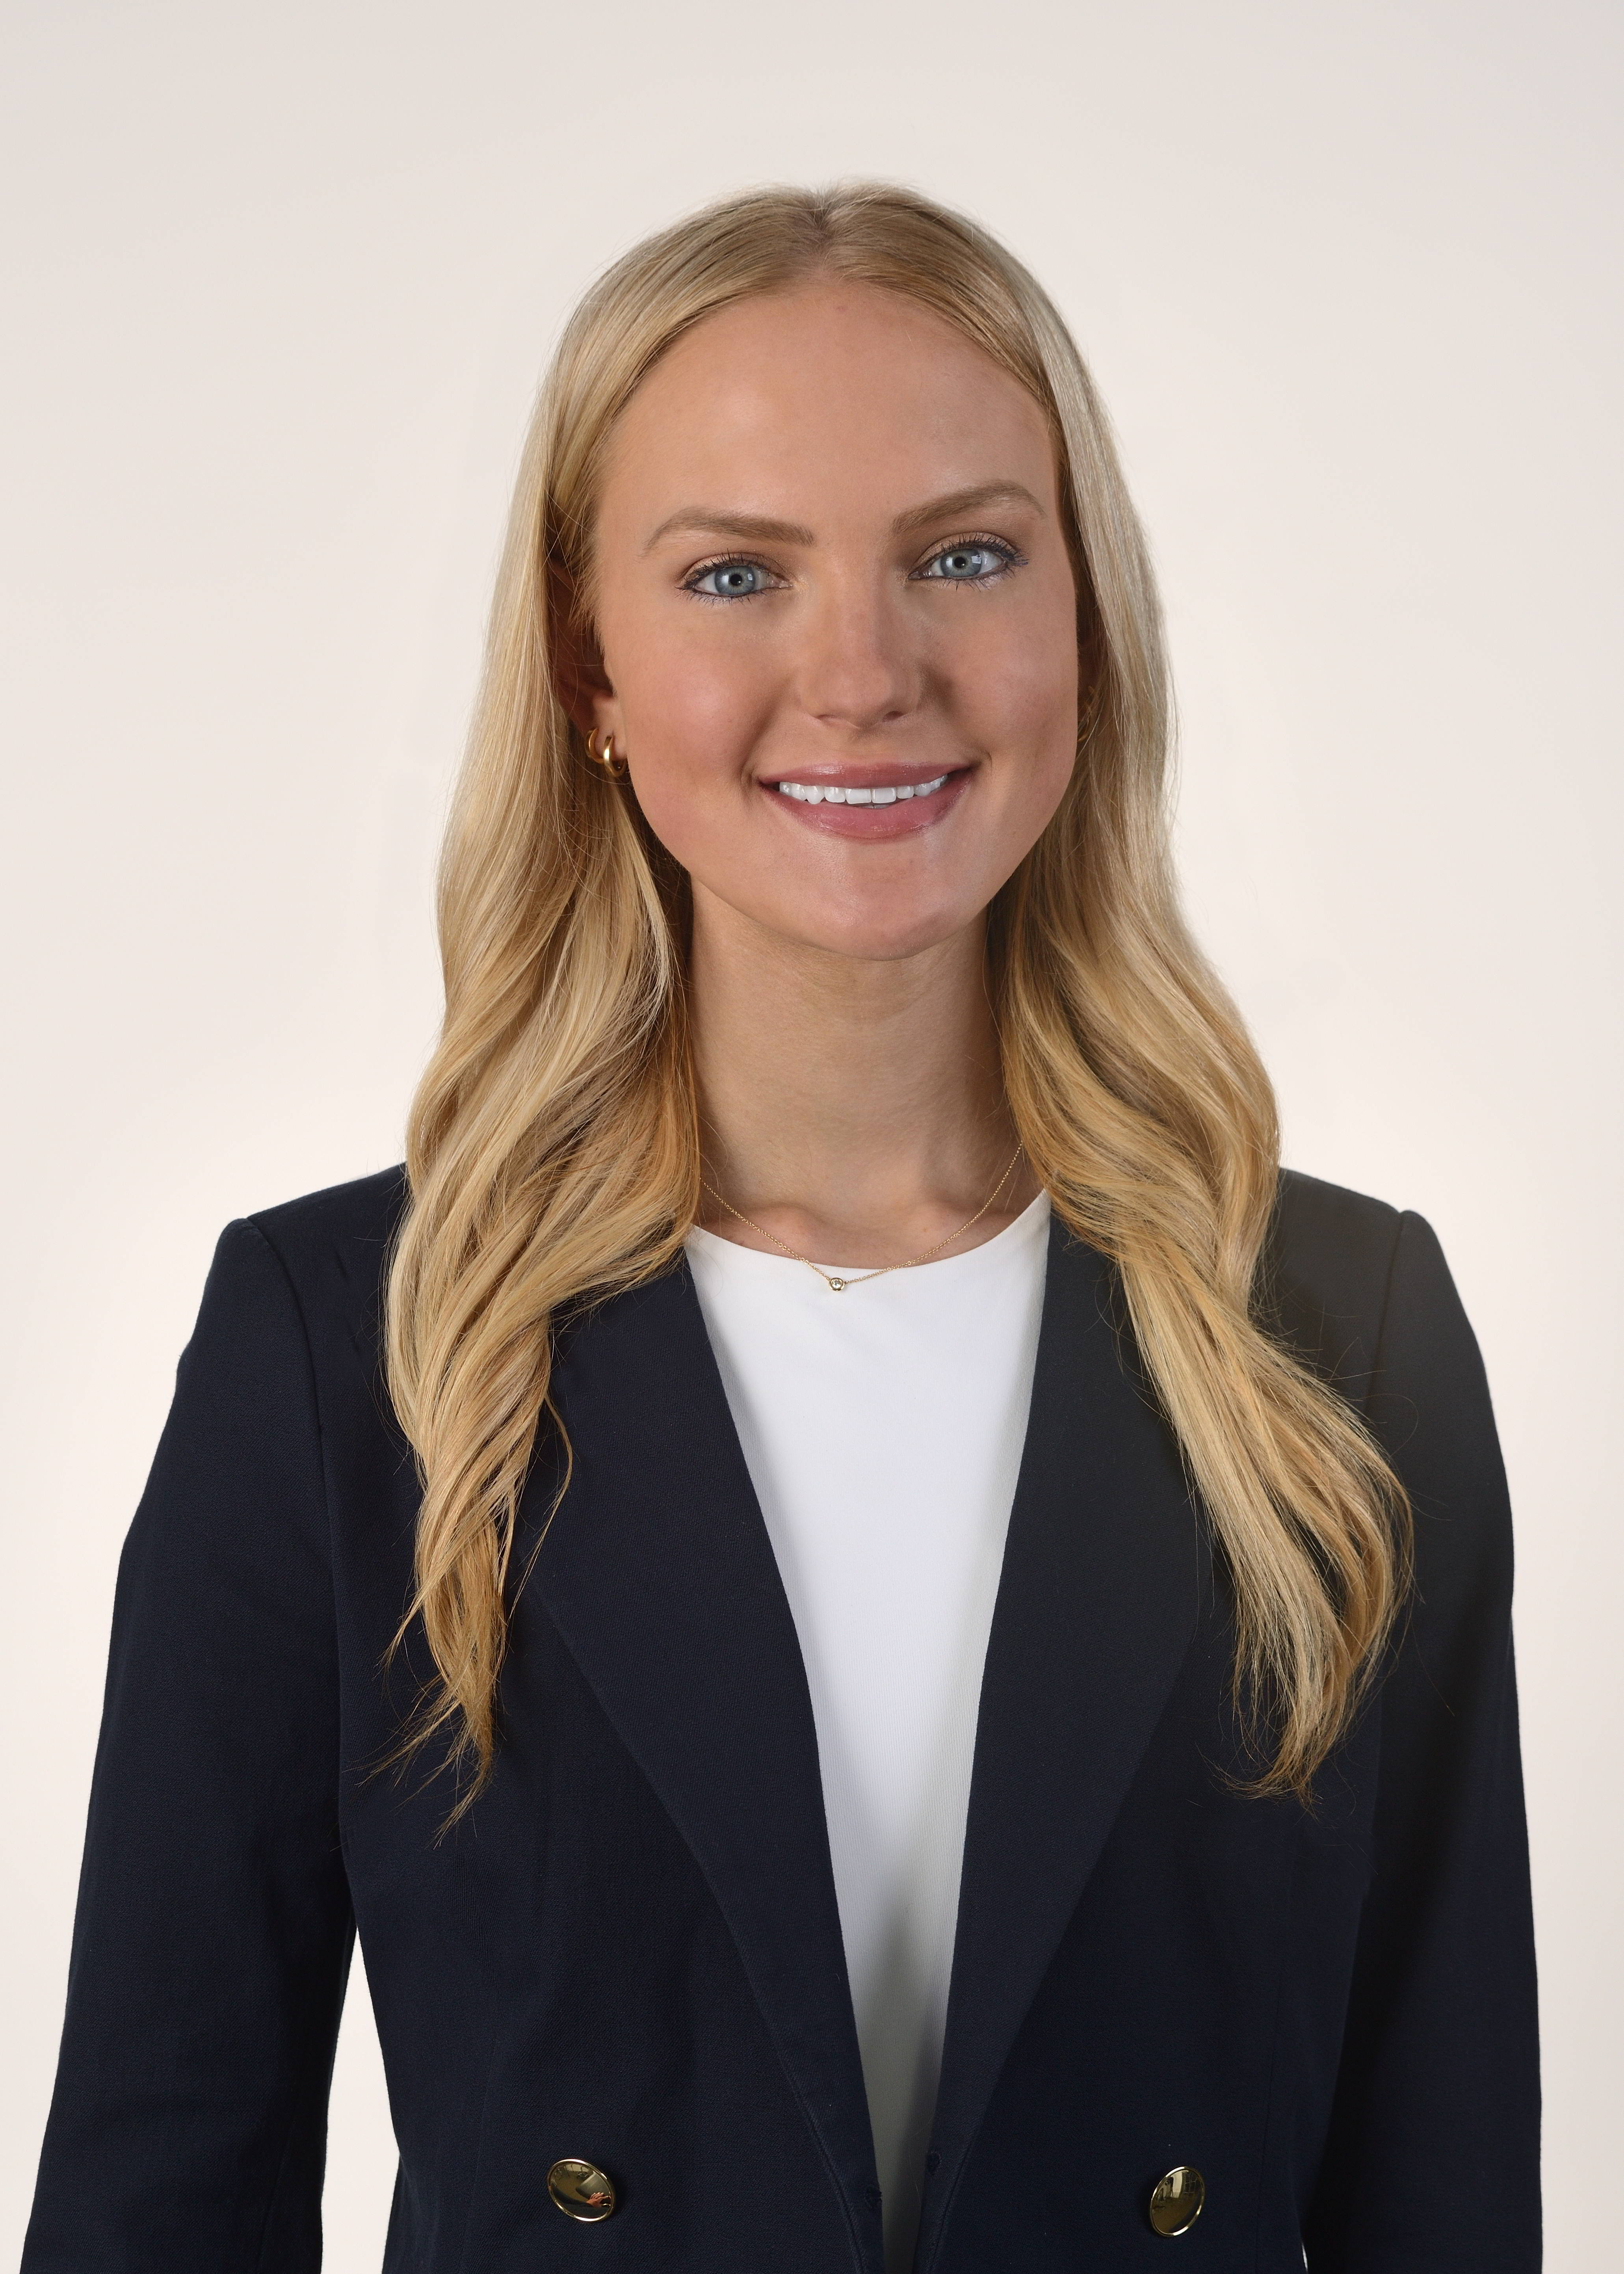
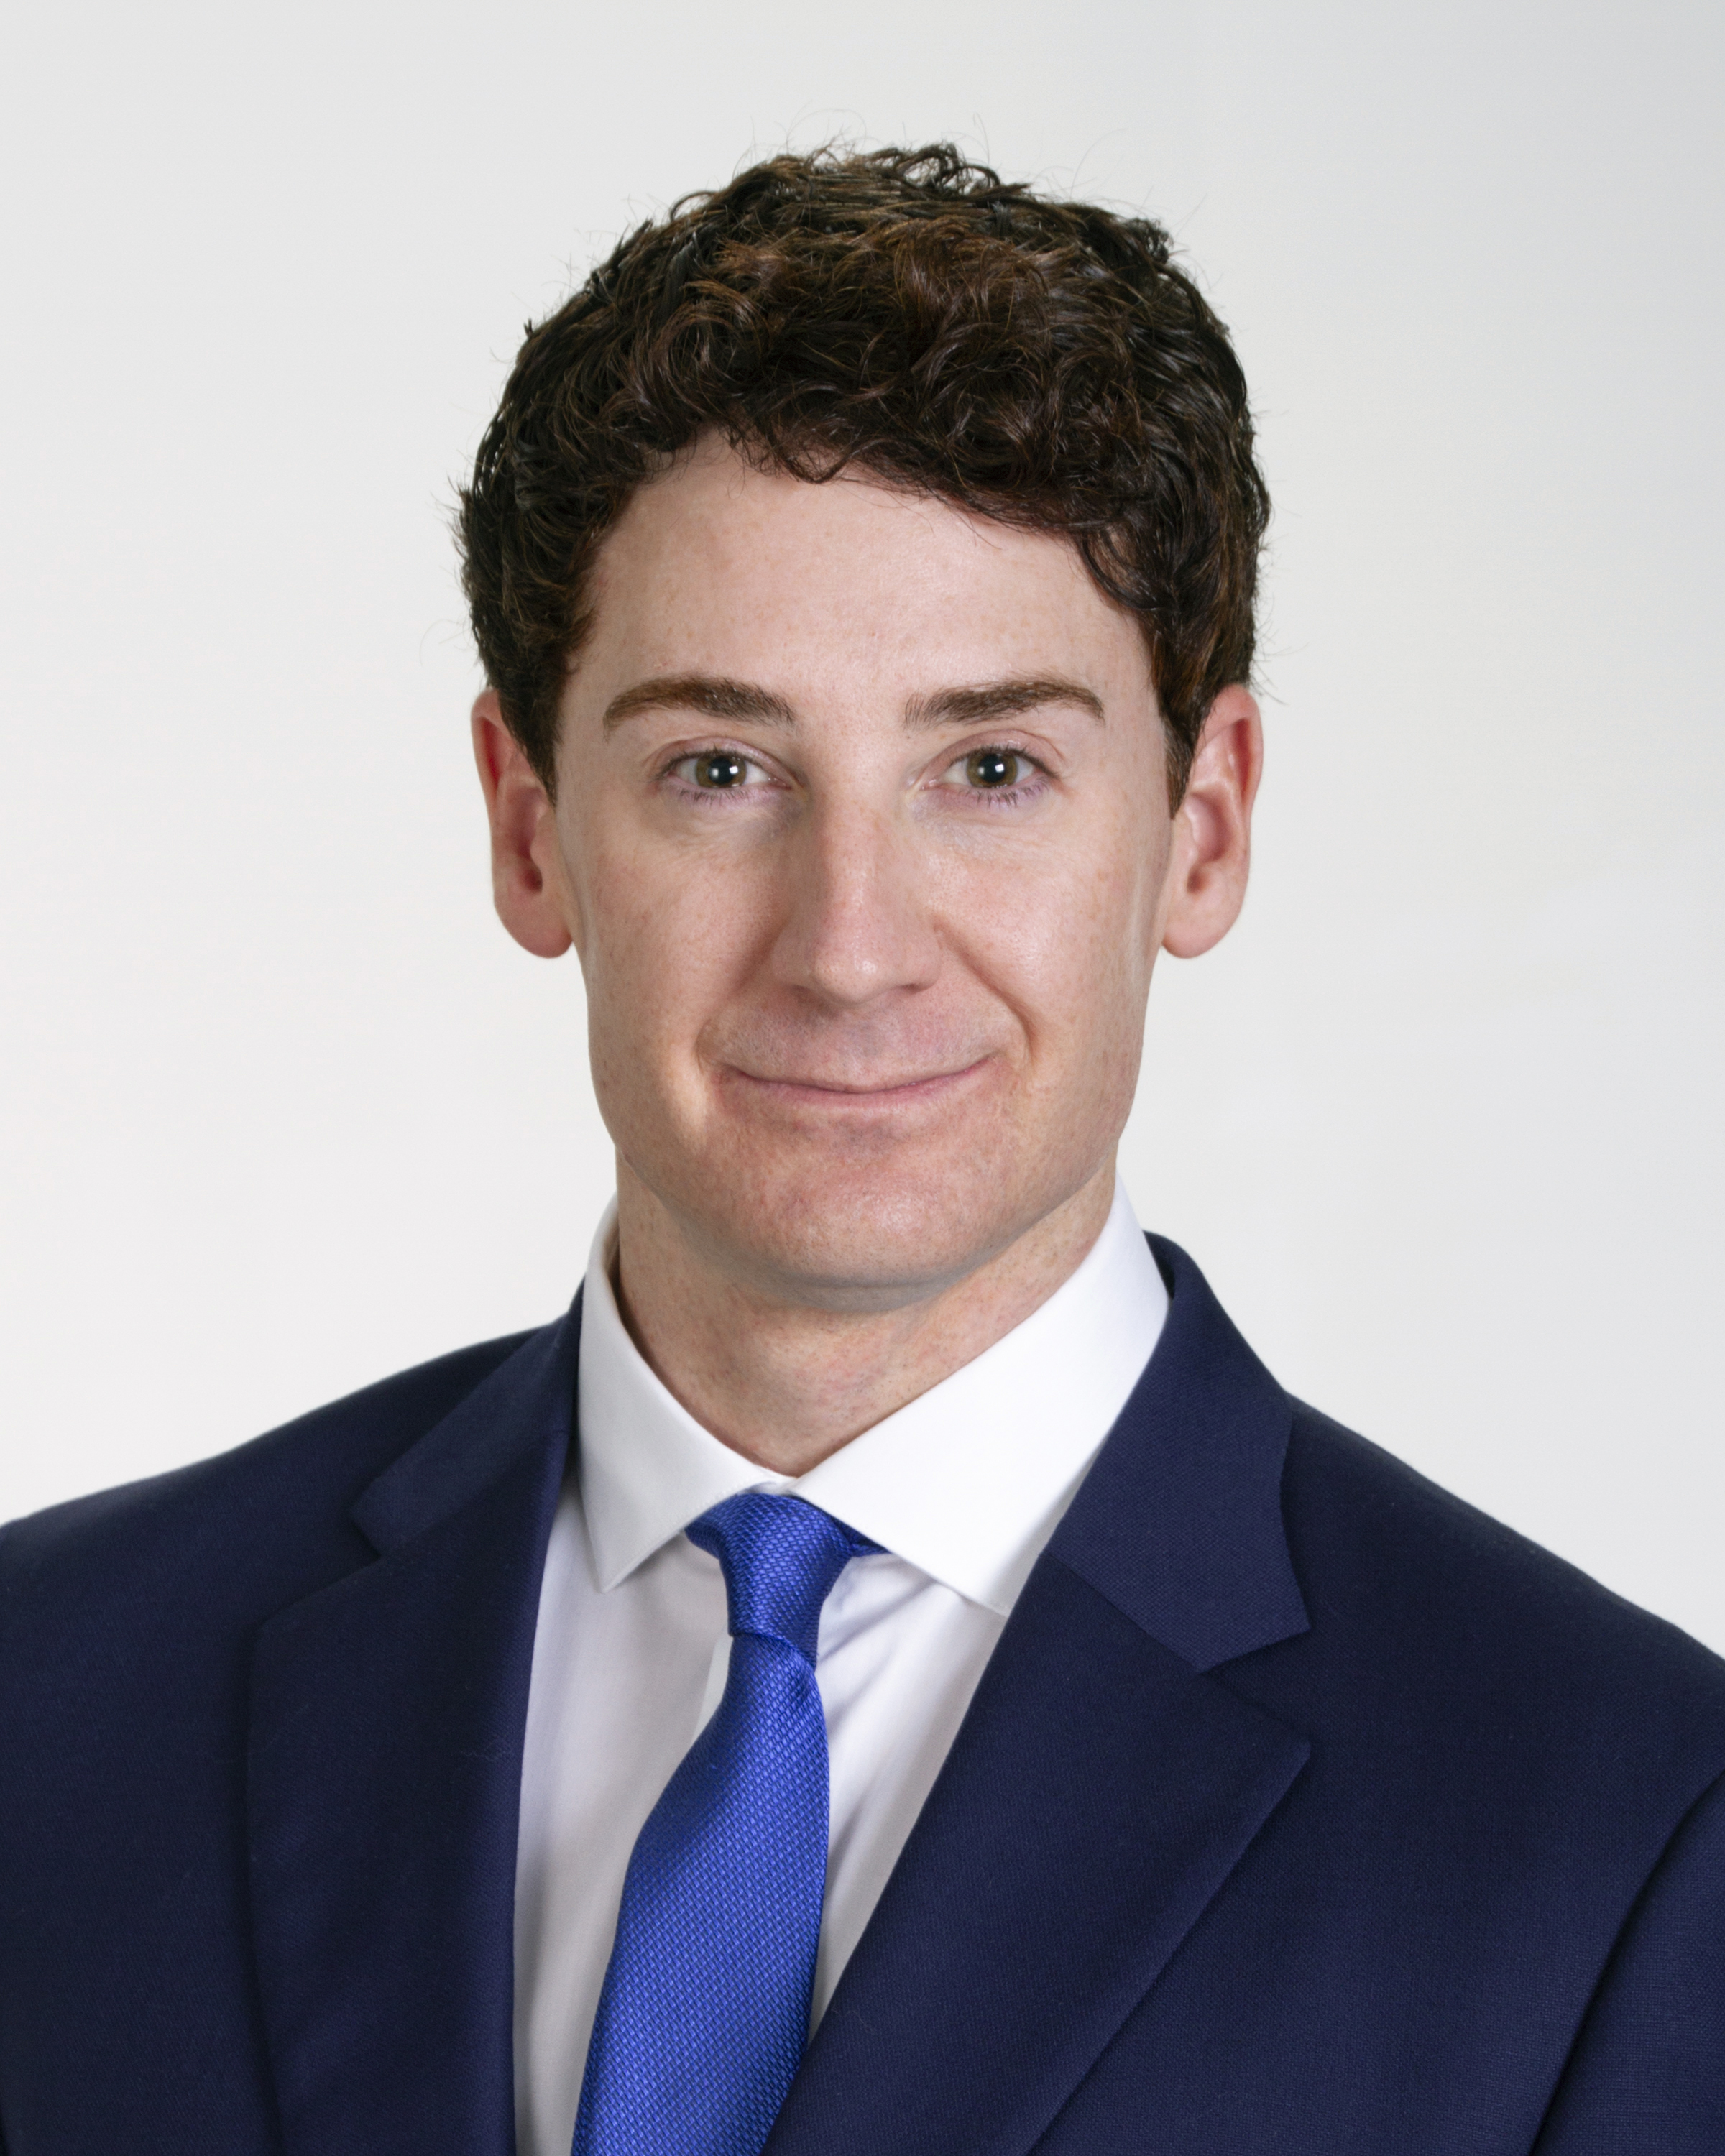
A. Orientation and crop
Decide on:
- Orientation: Vertical is standard, but horizontal can work well for web and video integrations. The key is consistency.
- Crop:
- Tight: top of shoulders to just above the head
- Medium: mid-chest to above the head
- Wider crops are fine for leadership or environmental portraits, but your base standard should be tightly defined.
Document with visual examples so no one is guessing where to “cut off” shoulders, hair, or headroom.
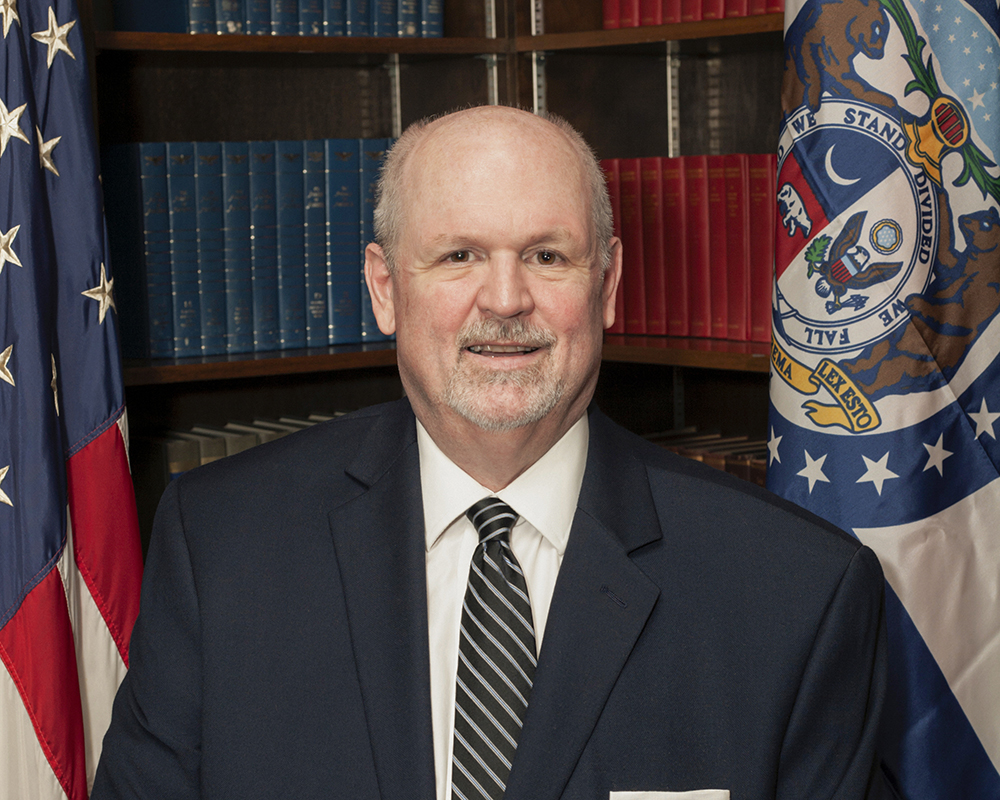
B. Background style
This is one of the most visible parts of your style system. Options include:
- Solid studio backdrop
- Neutral gray, white, off-white, or a subtle brand color
- Great for high consistency and easy retouching
- Office environment (blurred)
- Use your own offices, lobbies, or workspaces with shallow depth of field
- Conveys “real people in a real place” while still keeping the subject prominent
- Outdoor urban or natural backgrounds
- Creates energy and authenticity, ideal for certain industries and brands
Whatever you choose, make it repeatable. Specify:
- Color family or backdrop material
- How much blur/bokeh you want in environmental shots
- Whether the background should be evenly lit or subtly gradated


C. Lighting approach
Lighting is where “DIY snapshots” and “professional brand asset” diverge rapidly.
Decide on:
- Overall look:
- Clean and even (minimal shadow, good for corporate, medical, HR)
- Slight directional light (more depth, sculpted cheekbones, etc.)
- Shadow intensity:
- High-key (bright, low contrast)
- Mid-key (moderate contrast)
Your style guide should include notes like:
- Primary light position (e.g., 45° off-center, slightly above eye level)
- Fill or reflector usage
- Whether glasses glare needs special attention (and how it will be handled)
D. Posing and expression
This is where your people’s personalities intersect with your brand message.
Define:
- Body angle:
- Facing camera straight-on
- Turned 15–30° from camera, eyes back to lens (often more flattering and dynamic)
- Expression range:
- Friendly and approachable with a natural smile
- For some roles, a confident, neutral expression may be appropriate
Provide example images that show “target” expressions and posture. This helps align internal expectations and makes sessions smoother for everyone.
E. Wardrobe guidelines
Your headshot style guide should include simple wardrobe rules, tailored to your organization’s culture:
- Colors:
- Avoid overly bright colors or loud patterns that distract from the face
- Recommend solid or subtle patterns in your brand’s color family or neutral tones
- Necklines and layers:
- Collared shirts, blazers, or tailored tops usually photograph well
- Avoid overly casual hoodies (unless that is part of your brand)
- Accessories:
- Keep jewelry minimal and non-distracting
- Branding items (pins, lanyards) should be used intentionally
Make sure your dress code supports your diversity and inclusion values — your guide should help people look like the best version of themselves, not force everyone into the same mold.
Step 3: Define Technical and Delivery Standards
Your marketing and IT teams will thank you for this part.
Specify the following in your style guide:
File formats
- Master files: High-resolution JPG or TIFF, sRGB or Adobe RGB as needed
- Web-optimized files: JPG or PNG, compressed for your content management system
- Transparent-background versions (optional): PNG files with a clean clipping path for slide decks and design use
Resolution and dimensions
- Print master: e.g., 300 dpi, shortest side at least 2400–3000 pixels
- Web/LinkedIn: e.g., 1200 x 1200 px or 1080 x 1350 px depending on platform strategy
Naming convention
A clear naming structure is critical for search and reuse. For example:
Lastname_Firstname_Department_Location_YYYYMM.jpg
Standardize this so every headshot delivered over the years stays searchable and organized.
Retouching guidelines
Define what is and is not acceptable:
- Standard retouching might include:
- Temporary blemish removal
- Light skin smoothing
- Color and exposure correction
- Stray hair clean-up
- Avoid:
- Over-smoothing or unrealistic “plastic” skin
- Changing facial structure or features
- Altering someone’s appearance in a way that misrepresents them
Clear retouching standards reduce awkward conversations and protect trust with your employees.


Step 4: Build a Repeatable Process for New and Existing Staff
A style guide is only effective if it’s easy to execute.
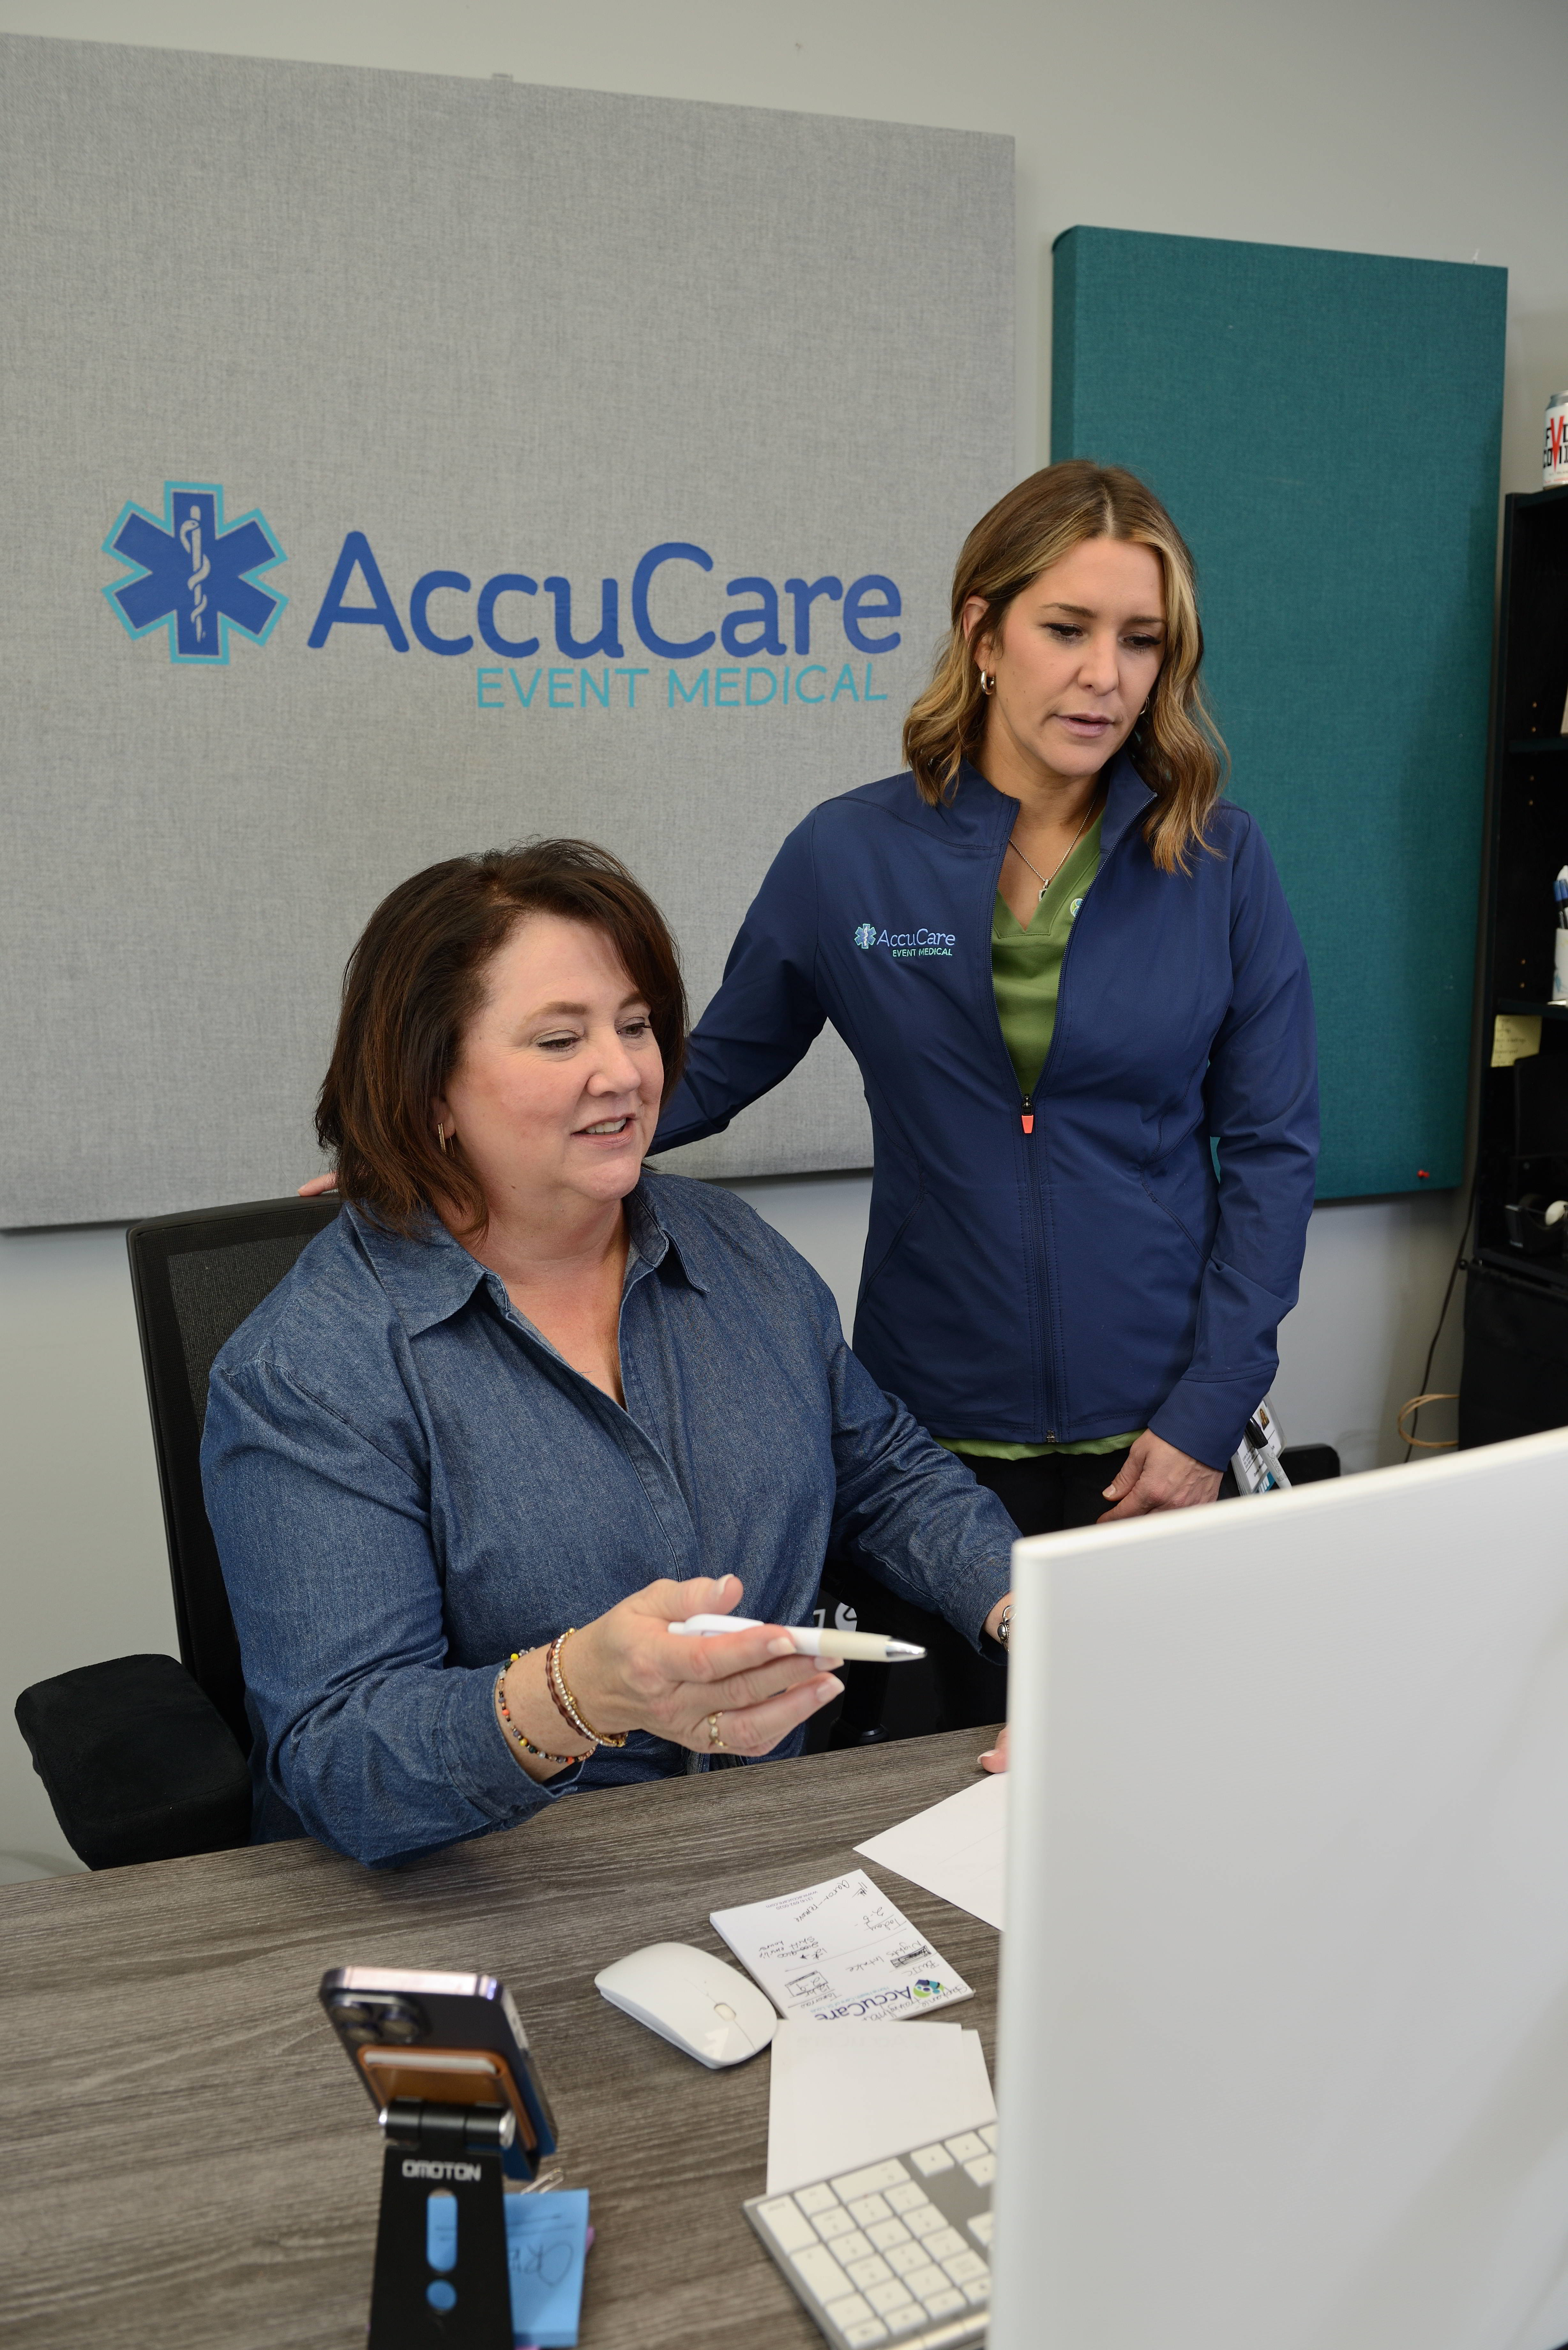
For in-office staff
- Schedule recurring “headshot days” once or twice a year.
- Book a dedicated space that matches your guide (studio or designated area in your office).
- Create a simple booking link or internal sign-up process.
- Share prep instructions with each person ahead of time.
For remote or hybrid staff
You have a few options:
- Regional shoot days with a trusted local photographer who follows your guide
- Central studio days aligned with quarterly or annual in-person meetings
- Professional remote headshot sessions with guided lighting and posing, plus AI-assisted background matching (when appropriate and disclosed)
In all cases, your style guide should include exact instructions for any external photographers or partners to follow.
Step 5: Document the Guide and Make It Accessible
A headshot style guide is only as useful as its availability.
Create a simple, practical document that includes:
- The why (business rationale and intended emotional tone)
- Visual examples of approved headshots
- Clear do’s and don’ts
- Technical specs and file delivery expectations
- Contact info for your internal marketing team and your preferred production partner
Host it where stakeholders naturally go:
- Brand or marketing portal
- HR onboarding resources
- Internal wiki or intranet
- Shared drive or DAM system
Whenever someone requests or updates a headshot, the style guide should be the first attachment.
Step 6: Integrate Headshots into Your Broader Content Strategy
Once your headshots are consistent, they become powerful assets across all your media.
Consider:
- Adding animated or video headshots for key leaders — short, well-lit clips that integrate seamlessly into your video marketing (interviews, testimonials, recruiting, training).
- Repurposing stills into speaker one-sheets, PR kits, and LinkedIn carousels.
- Creating team “meet the people” videos that open with consistent headshots and move into short on-camera introductions.
Here’s where partnering with a production team that handles both photography and video becomes valuable — your headshot style can extend naturally into on-camera interviews, B-roll, and brand stories.
Step 7: Plan for Maintenance and Evolution
Your headshot style guide should be:
- Stable enough to provide consistency over several years
- Flexible enough to evolve with your brand
Best practices:
- Review your guide every 18–24 months, especially after a rebrand or major shift in company culture.
- Audit your website and internal platforms yearly:
- Are all headshots up to standard?
- Are old, inconsistent images still live?
- Ensure your production partner keeps detailed records so new sessions match the established look.


How St Louis Headshots Can Help You Define and Execute Your Style Guide
Building a corporate headshot style guide is part creative direction, part technical specification, and part logistics. It’s not just about taking a “nice picture”; it’s about creating a repeatable visual system that supports your marketing, HR, and leadership teams for years.
That’s where we come in.
As experienced photographers, videographers, and producers, St Louis Headshots works with companies, marketing departments, and agencies to:
- Audit your current imagery and identify gaps
- Help define the emotional and visual direction for your headshot system
- Design lighting, backgrounds, and posing that align with your brand
- Document everything in a clear, usable style guide
- Execute efficient, low-disruption photo days for large and small teams
- Extend your headshot look into video interviews, testimonial content, and other marketing assets
At the end of the day, our goal is simple: make your people look like the best, most authentic version of themselves — in a way that also serves your brand.
Why Teams Across St. Louis Trust St Louis Headshots
Experienced St Louis Headshots is a full-service professional commercial photography and video production company with the right equipment and creative crew service experience for successful image acquisition. We offer full-service studio and location video and photography, as well as editing, post-production and licensed drone pilots. St Louis Headshots can customize your productions for diverse types of media requirements. Repurposing your photography and video branding to gain more traction is another specialty. We are well-versed in all file types and styles of media and accompanying software, and we use the latest in Artificial Intelligence for all our media services to streamline workflows, deliver consistent results, and extend the life of your content.
Our private studio lighting and visual setup is perfect for small productions and interview scenes, and our studio is large enough to incorporate props to round out your set when needed. We support every aspect of your production—from setting up a private, custom interview studio to supplying professional sound and camera operators, as well as providing the right equipment—ensuring your next video production is seamless and successful. We can even fly our specialized drones indoors when your project calls for dynamic, controlled aerial perspectives.
As a full-service video and photography production corporation, since 1982 St Louis Headshots has worked with many businesses, marketing firms and creative agencies in the St. Louis area for their marketing photography and video. If you’re ready to define and document your company’s headshot style guide — and turn portraits into a strategic brand asset — we’re ready to help you plan, shoot, and deliver it right.
314-913-5626
Mike Haller
Studio by appointment: 4501 Mattis Road St. Louis, MO 63128
